How to Use Case Management

Written by Dante Taylor
Updated at February 4th, 2025
The Case Management feature enables the ability to link proceedings to one another under a Case. In addition, this feature will allow exhibit copying from linked proceedings. All uploaded exhibits upon the end of a proceeding will be copied to all other proceedings within the case. The Owner, Manager, and Coordinator of an organization have the ability to create cases.
-
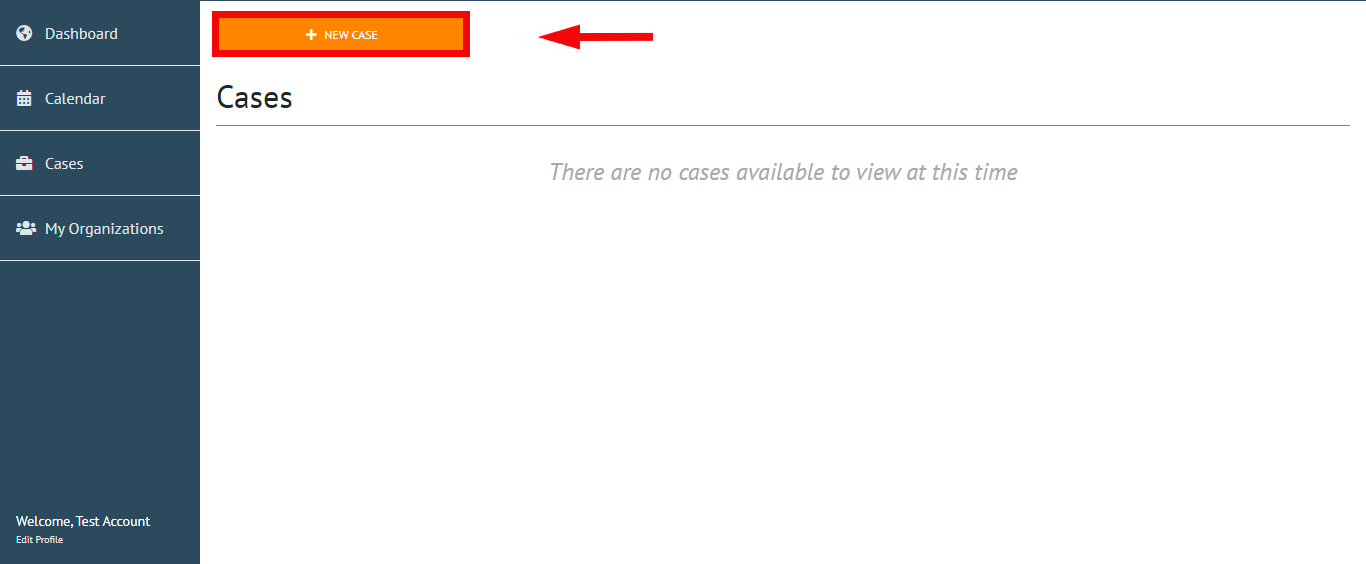
From the dashboard select “Cases” from the navigation bar.
-
As an organization Owner, Manager, or Coordinator, you will have the ability to create new cases.
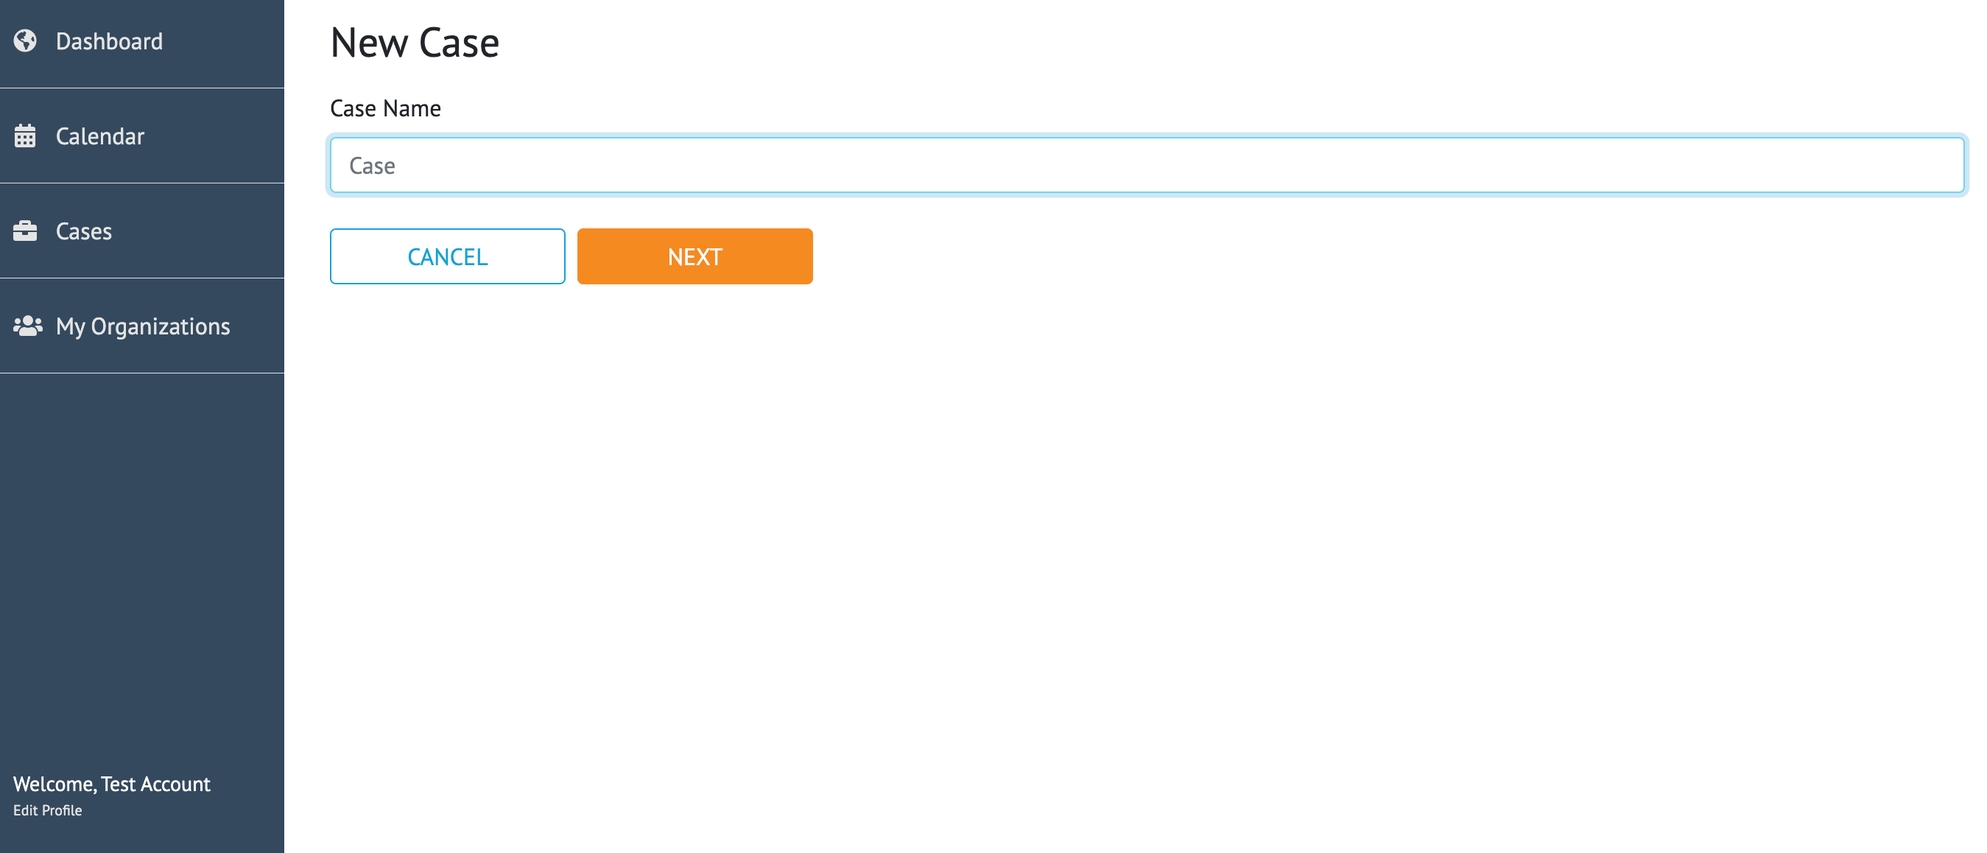
To create a new case, click New Case.
The Owner, Manager, and Coordinator of an organization will be able to view linked proceedings under cases.
For more information on Organizations, please see Organization Structure Explained.
-
Create a name for the “Case” and click NEXT.
-
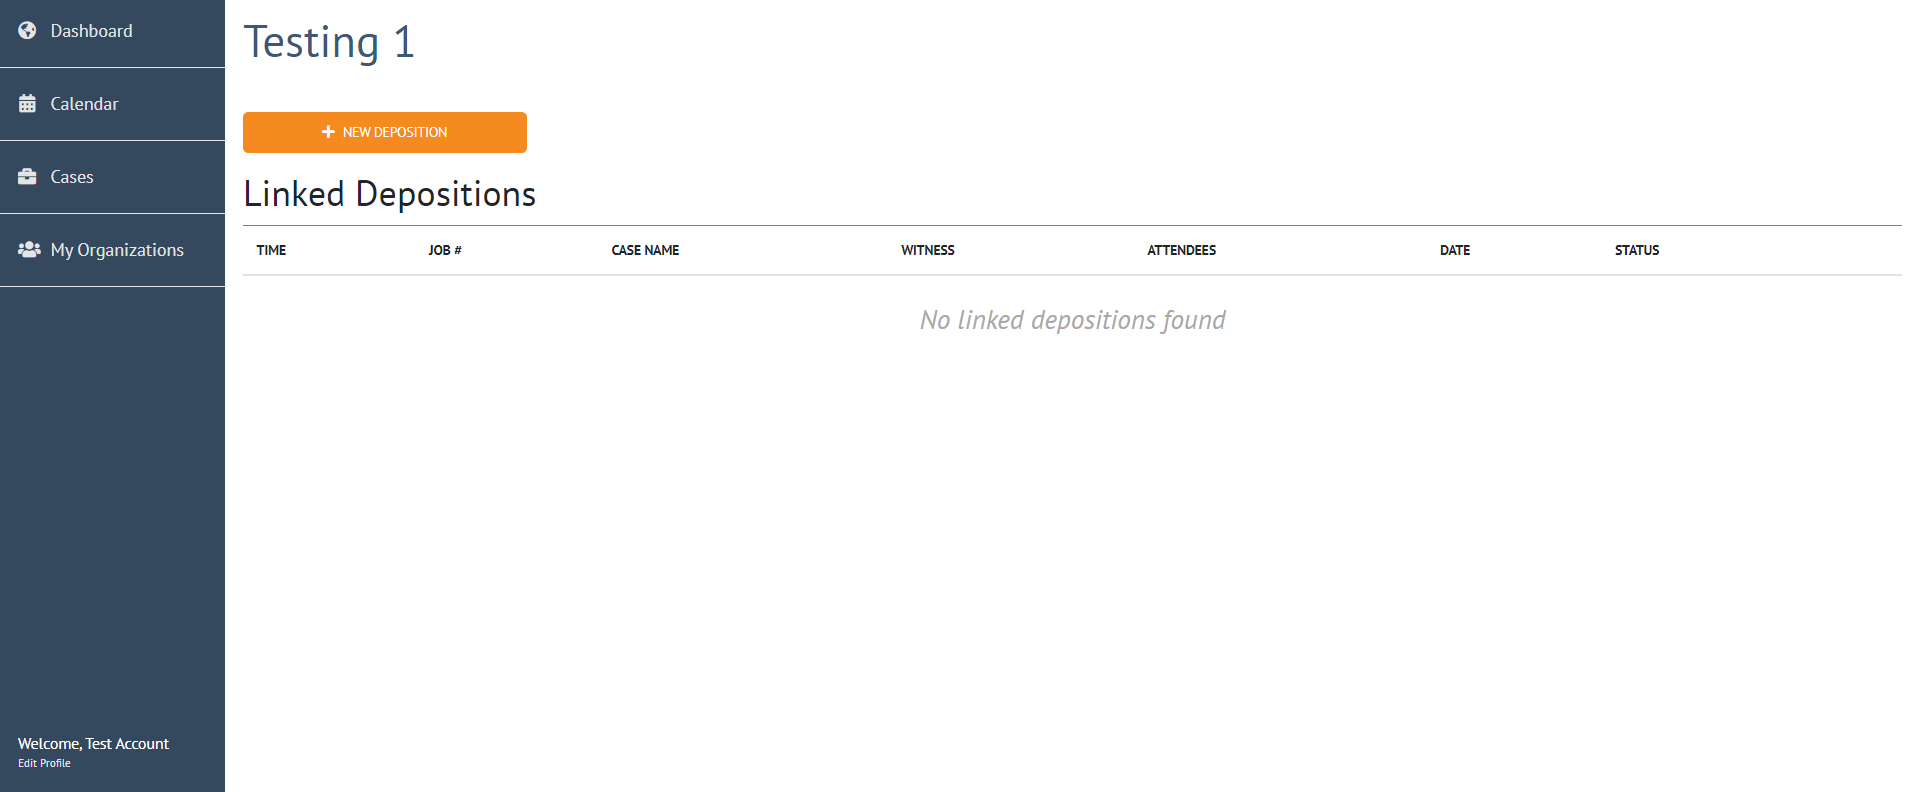
Creating a new case allows you to easily separate and organize linked proceedings. Once a case has been created you will be directed to the Linked Proceeding dashboard, where proceedings can be directly linked too.
-
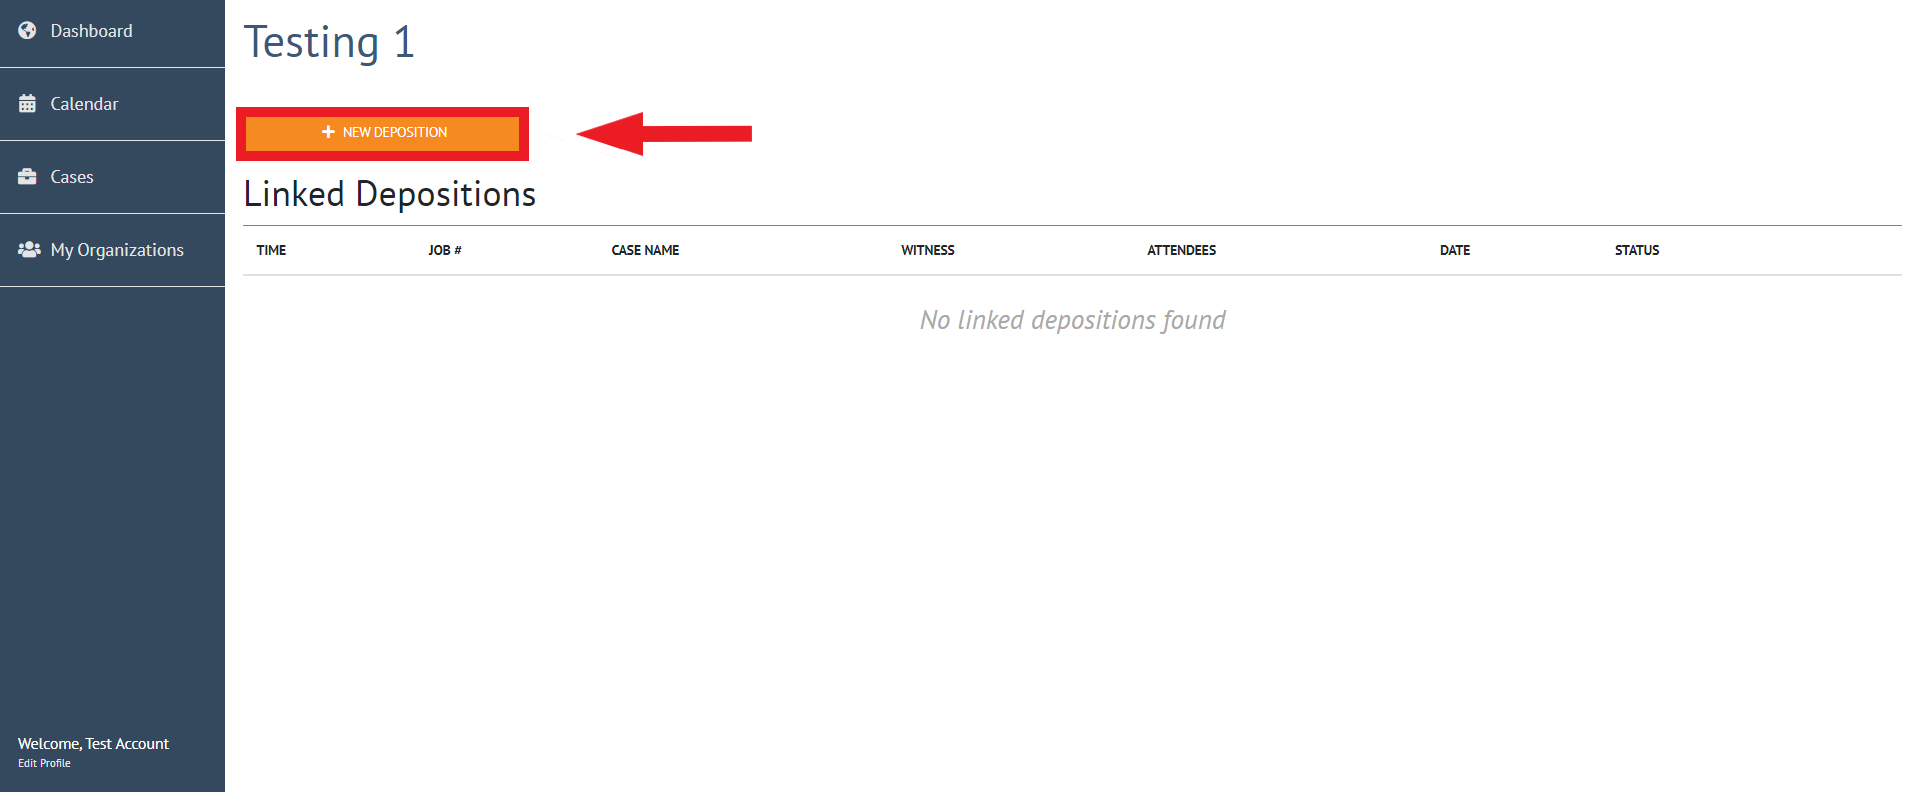
From the Linked Proceeding dashboard, you may create a new proceeding to link to the case.
Click New Proceeding.
For more information, please see How-to Create a Proceeding.
-
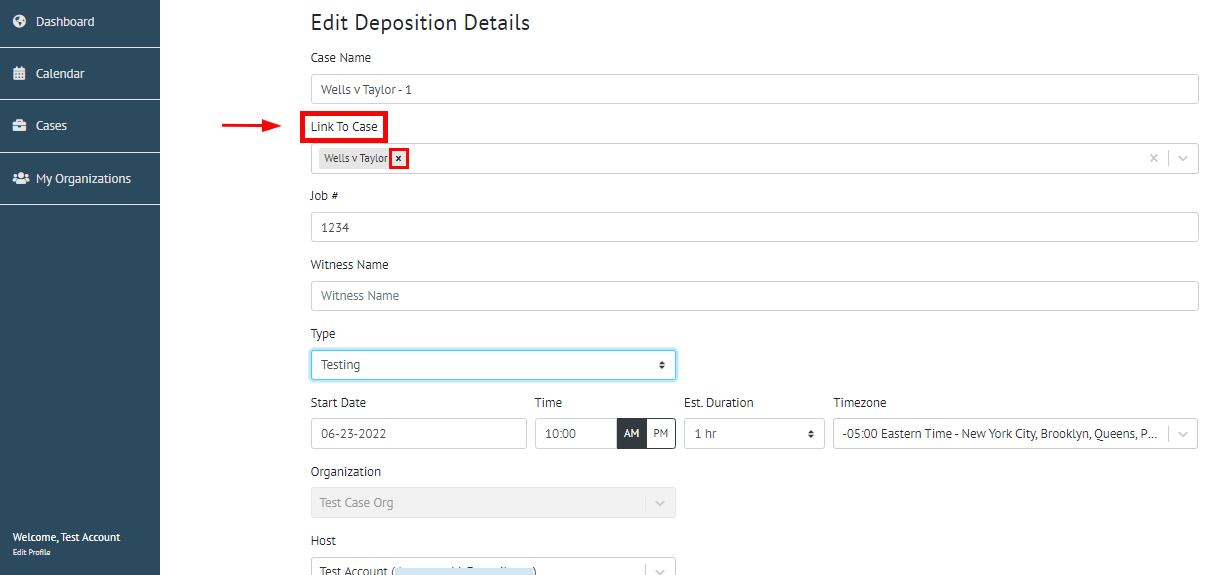
By creating a new proceeding from the linked proceeding dashboard, the proceeding will be automatically linked to the case.
To unlink a case, simply click on the X next to the linked case name.
-
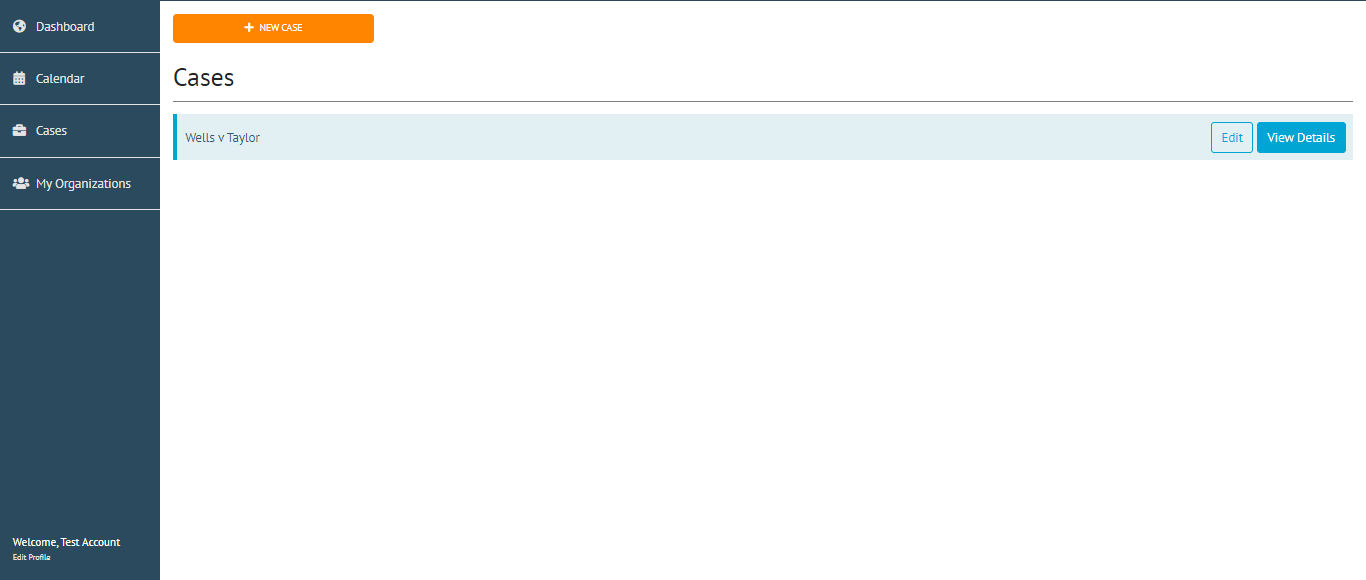
Once a proceeding has been created, it will be available on the Cases dashboard.
To view and edit the linked case, click Cases on the left-hand navigation bar. Cases with linked proceedings will be highlighted in blue.
-
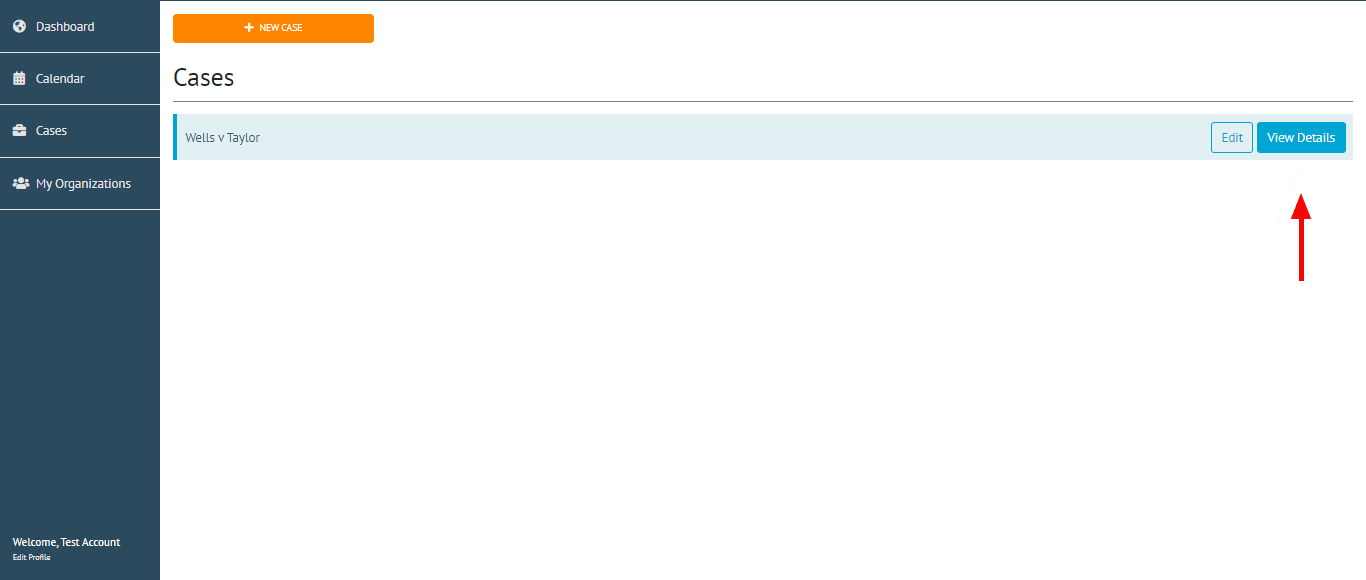
Select View Details to view a particular case.
-
From the Linked Proceeding dashboard, all of the linked proceedings will be available to review, edit, or join.

You can also link a proceeding to a case when creating a new proceeding or by editing an existing proceeding.
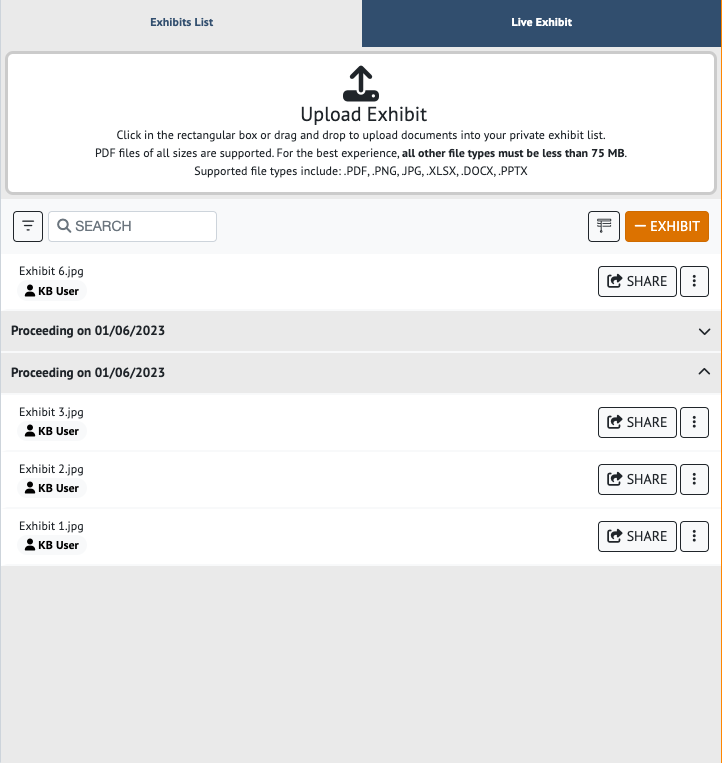
Exhibit Copying
When you upload exhibits within a proceeding that is part of a case, your exhibits will be automatically copied to upcoming linked proceedings within the case once the proceeding has ended. Exhibits will be grouped by the proceeding name, date, and witness name
Note: To copy exhibits over to the next proceeding, uncheck "Post Proceeding Exhibit Review" when creating the proceeding
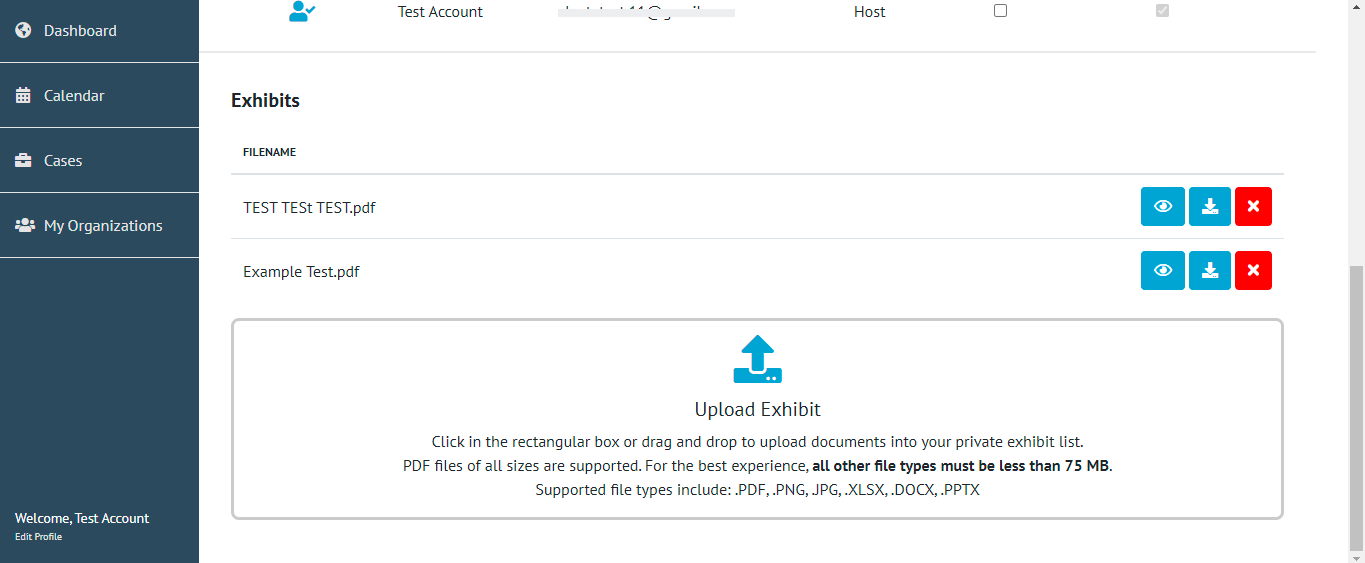
For more information on how to upload exhibits, please see How-to Upload an Exhibit Before and During a Proceeding