How to Create a Deposition

Written by Dante Taylor
Updated at August 8th, 2024
-
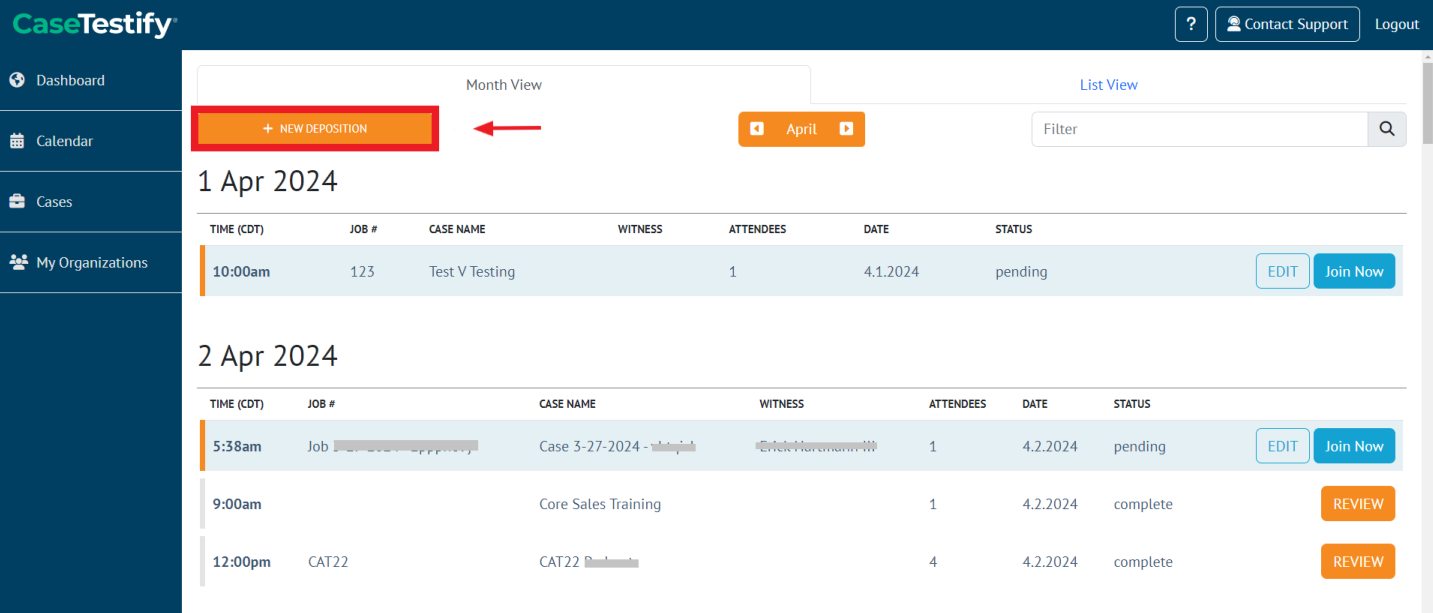
Once logged into the virtual deposition platform, you can create a new deposition by clicking the orange +New Deposition button at the top of your Dashboard. Only those within an organization, such as a coordinator, manager, or owner can create new depositions.
-
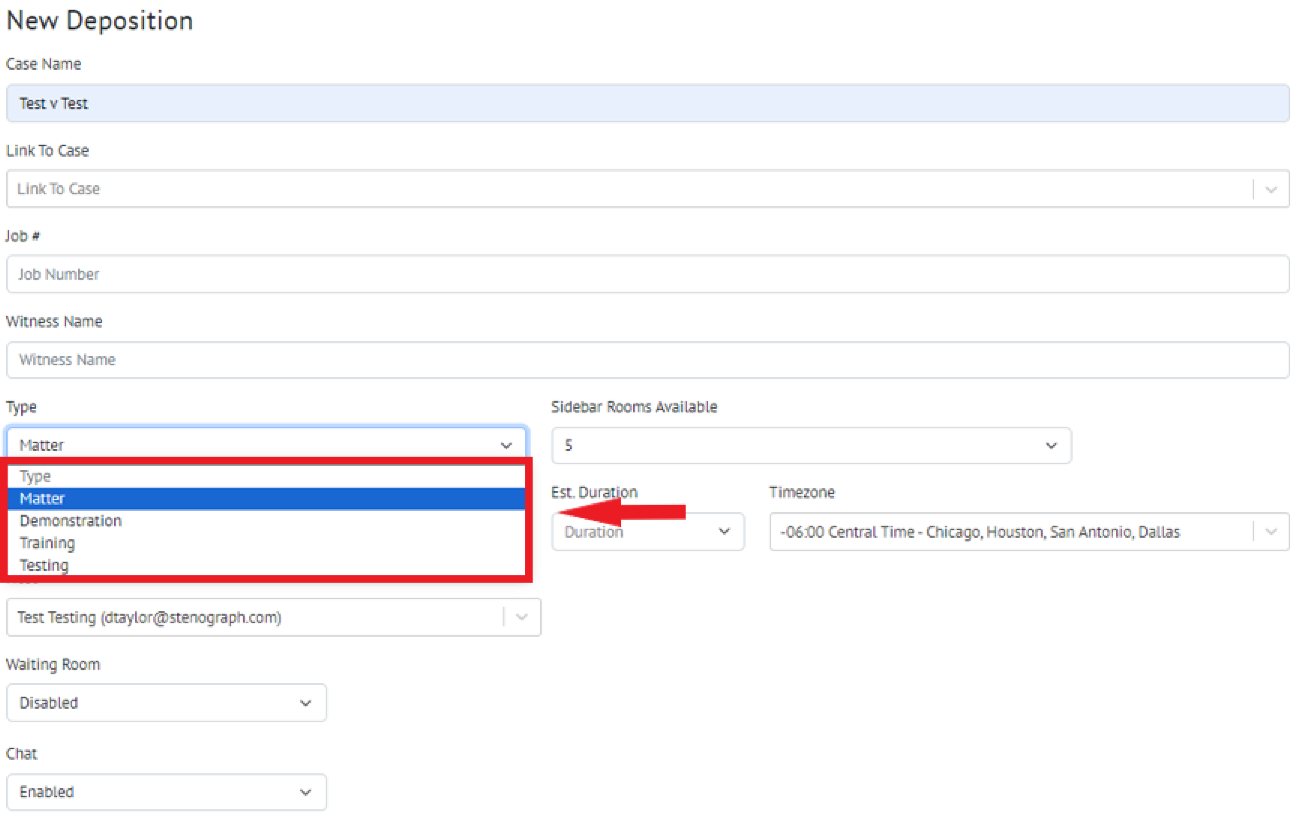
This will take you to a new screen where you can enter the deposition details including the case name and number, link cases, date, time, and duration of deposition, Phoenix ViewScript Display, and the Host associated with the deposition. Note that ‘Case Name' has a character limit of 100 and 'Job #’ has a character limit of 50. You also can designate the type of deposition being conducted as shown below:
For more information on how-to link cases, please see How-to Use Case Management
Phoenix ViewScript Display refers to our live AI speech-to-text tool feature within the deposition room.
By default, the Phoenix ViewScript feature is ‘Disabled’ and will not be available as a post-deposition asset. When ViewScript has been ‘Enabled’, you will have a few options
- Make Phoenix ViewScript visible to everyone except the Witness
- Make Phoenix ViewScript visible to everyone
- Make Phoenix ViewScript hidden for all participants (will be available post-deposition)
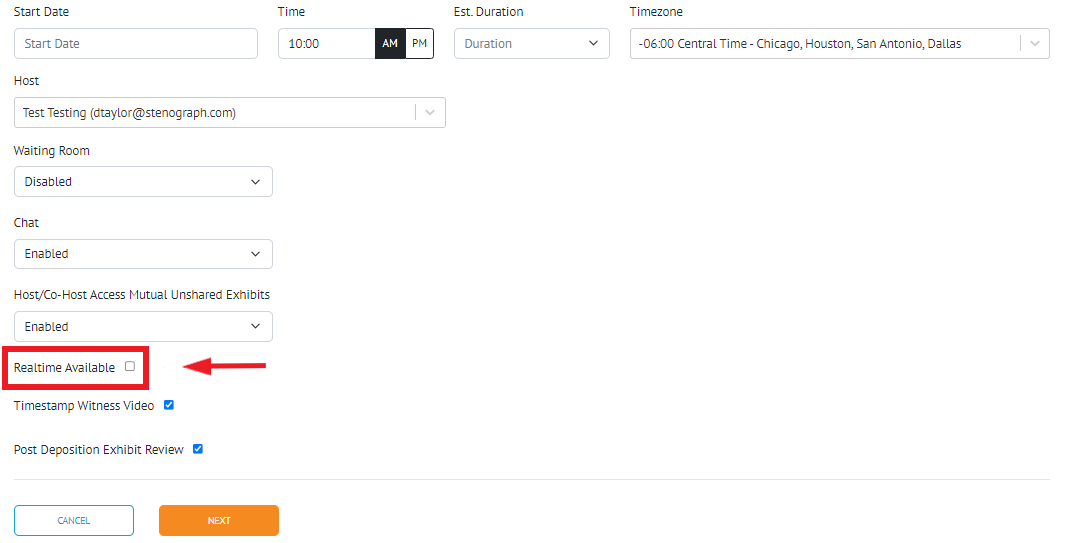
- You may also be able to enable the ‘Realtime’ speech-to-text feature. For more information please see How-to use the Realtime feature (Host).
-
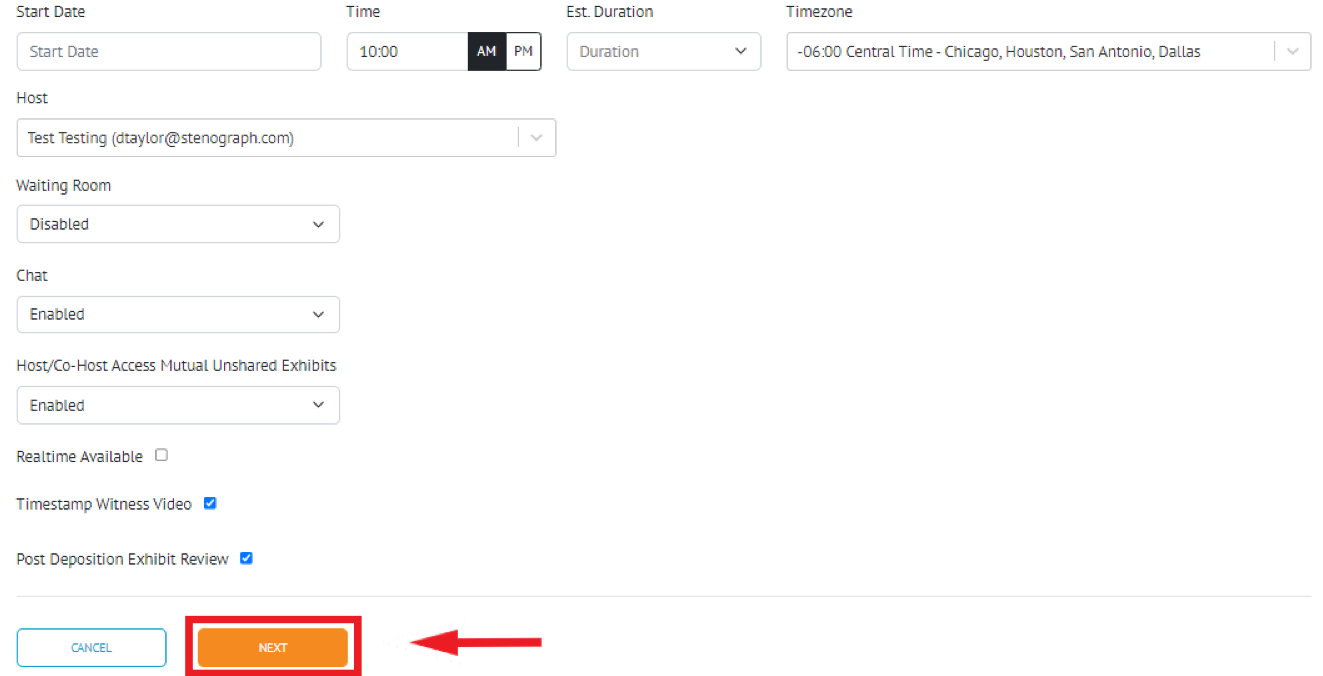
Once you have completed the required fields, select ‘Next’
-
Note: To copy exhibits over to the next deposition, uncheck "Post Deposition Exhibit Review"
-
-
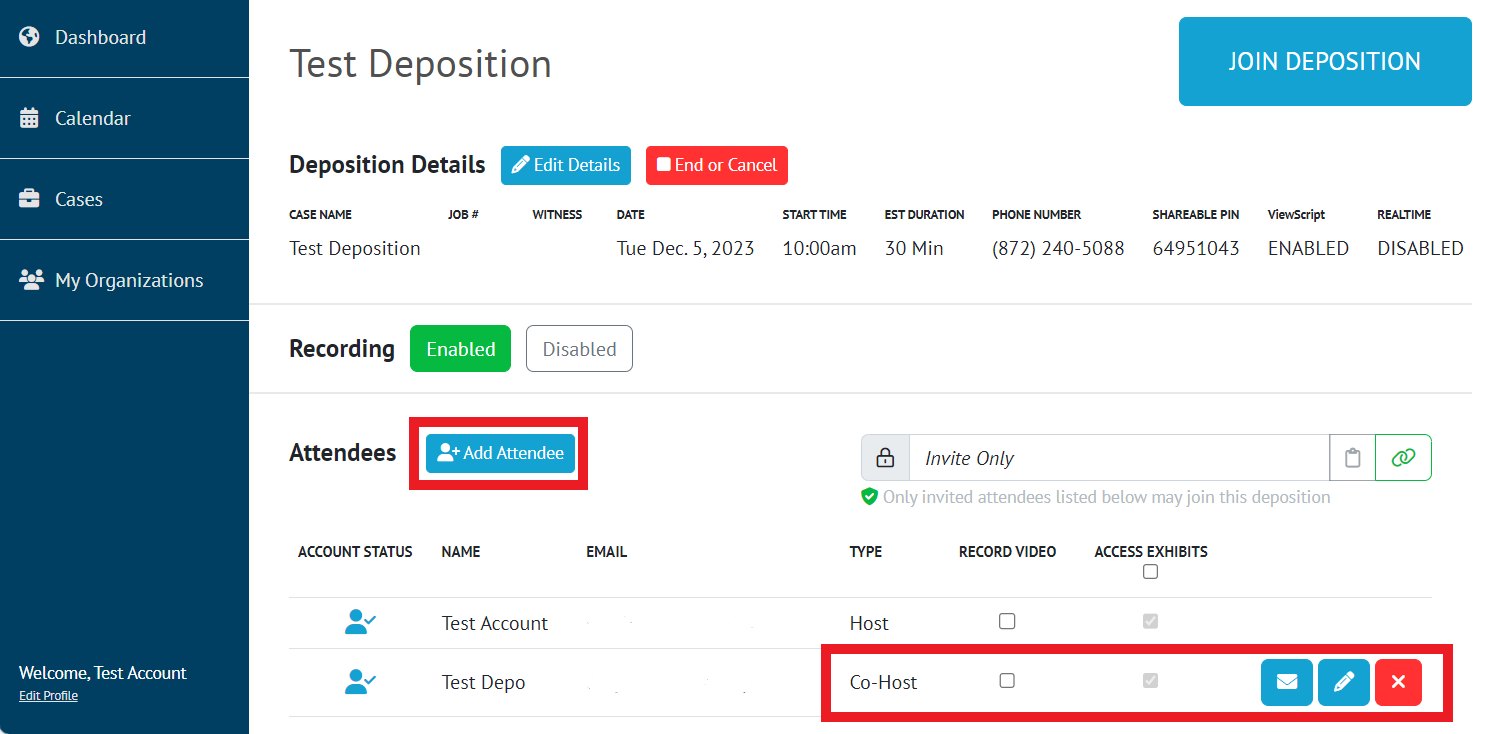
This will bring you to the Deposition Details page, which allows you to add attendees to your newly created deposition and toggle the recording mode.
-
The Host can enable or disable the recording for the deposition. With the recording disabled you can go on and off the record to track the deposition’s duration without generating a video.

-
To add attendees to your newly created deposition please see: How-to Add Attendees to a New Deposition.
-
.png?inst-v=f11dc0ee-c96c-4b05-a1d8-e7224ebe2777)
.png?inst-v=f11dc0ee-c96c-4b05-a1d8-e7224ebe2777)