Contact Us

If you still have questions or prefer to get help directly from an agent, please submit a request.
We’ll get back to you as soon as possible.

Please fill out the contact form below and we will reply as soon as possible.

  • Contact Us
  • Home
  • CaseTestify

Camera/Mic Switcher Explained

This article will explain how to use the Switch Device feature.

Written by Dante Taylor

Updated at February 14th, 2025

Contact Us

If you still have questions or prefer to get help directly from an agent, please submit a request.
We’ll get back to you as soon as possible.

Please fill out the contact form below and we will reply as soon as possible.

  • CATalyst
    Audio Realtime Edit Manage Jobs Windows e-Key Export Print Dictionary Management Read Import Cloud Backup RealTeam Page Layouts CATalyst Academy
  • Stenograph Writers
  • CaseViewNet
    iCVNet CVNet Cloud
  • Downloads
  • APEX
  • MAXScribe
    JAVS
  • CaseTestify
  • YesLaw
+ More

The Camera/Mic Switching Feature allows you to change your Camera and Microphone while in the deposition room.

  1. Click on the 3 dots next to the Red Telephone icon.


  2. Then select Devices Settings.


  3. This will bring you to a pop-out screen that will allow you to change your Camera and Microphone used in the deposition


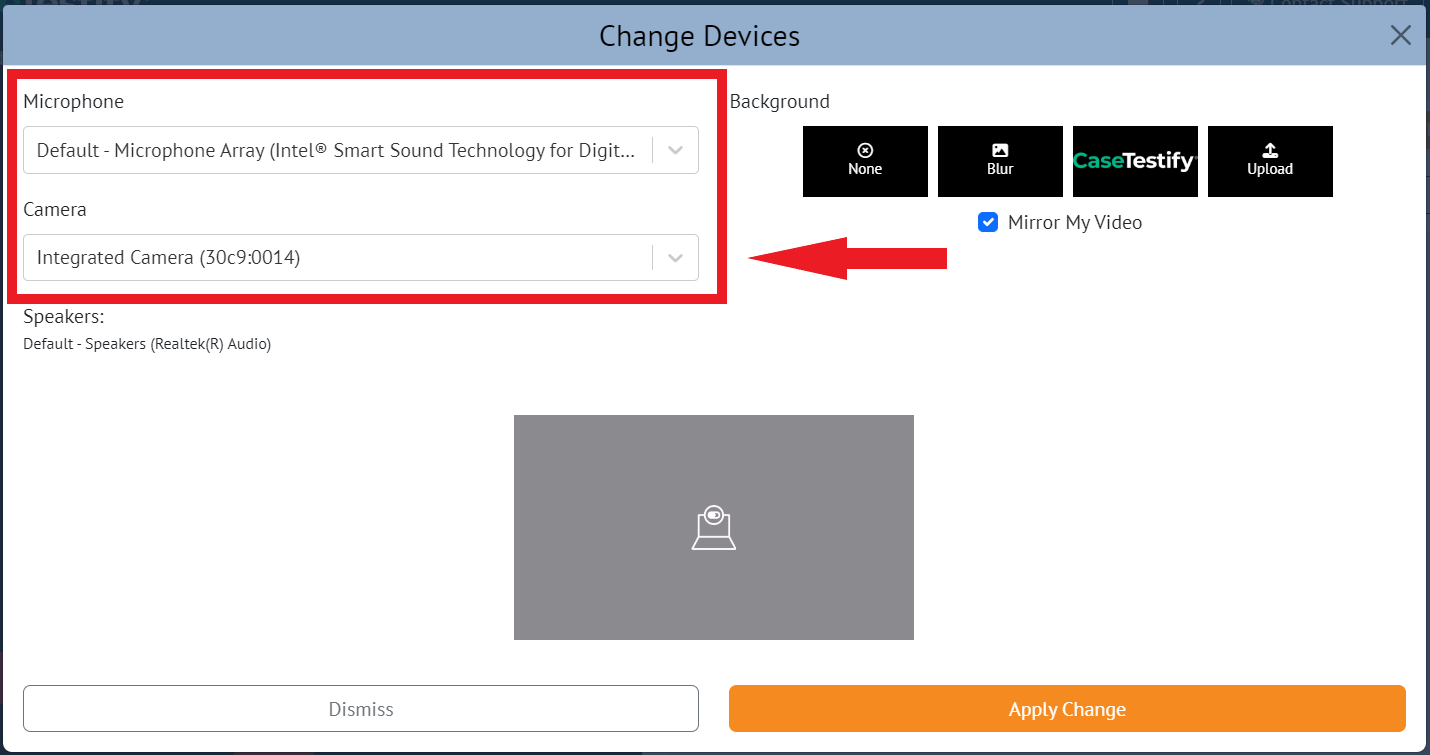
  4. Once you have selected the devices that you would like to use, click Apply Change


If you need to change your speakers you will have to do that through the Operating System Settings, click on on the Speaker Icon on the macOS or Windows 10 Tray to access these settings. See How-to Change Your Speakers on Windows 10 & macOS.

microphone switch camera switch

Related Articles

  • How to Create a Proceeding
  • How to Create an Account
  • How to Join a Proceeding
  • How to Join a Proceeding Using a Guest Account
  • How to Dial-In to a Proceeding
© Copyright 2024 Stenograph L.L.C. All rights reserved.

Knowledge Base Software powered by Helpjuice

Definition by Author

0
0
Expand