Installing JAVS audio mixer drivers
This guide will help you install the drivers and configuration tool for the JAVS mixer. Do not connect the JAVS mixer to your computer until after you have installed the JAVS 306B drivers and configuration tool.
Installing the P306B Drivers.
Click the following link to download the drivers to your computer.
Go to the location of your downloaded files (usually the Downloads folder or Desktop), right click on the JAVS Driver and Config Tool.zip file and click Extract All.
In the Extract Compressed (Zipped) Folders dialog box, click Extract.
A new window will appear. Double click on the JAVS_P306_P306B_v4.67.0_2019-06-28_setup.exe file.
-
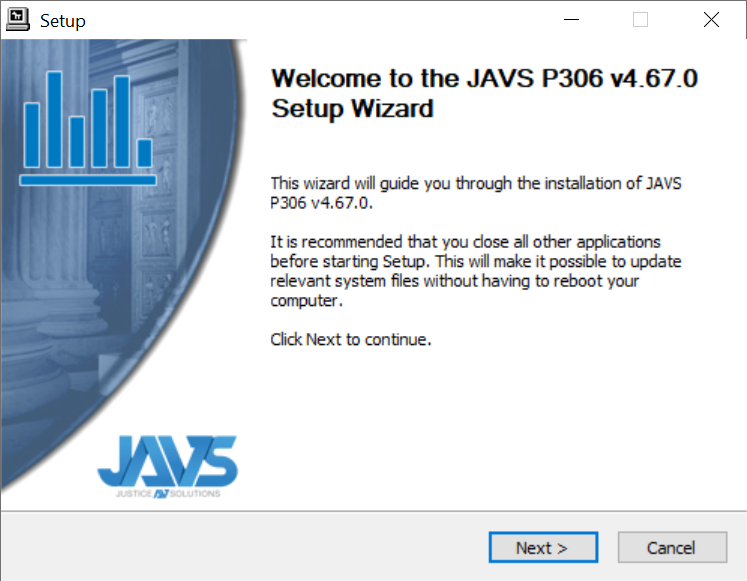
The Welcome to the JAVS P306 v4.67.0 Setup Wizard appears. Click Next.
-
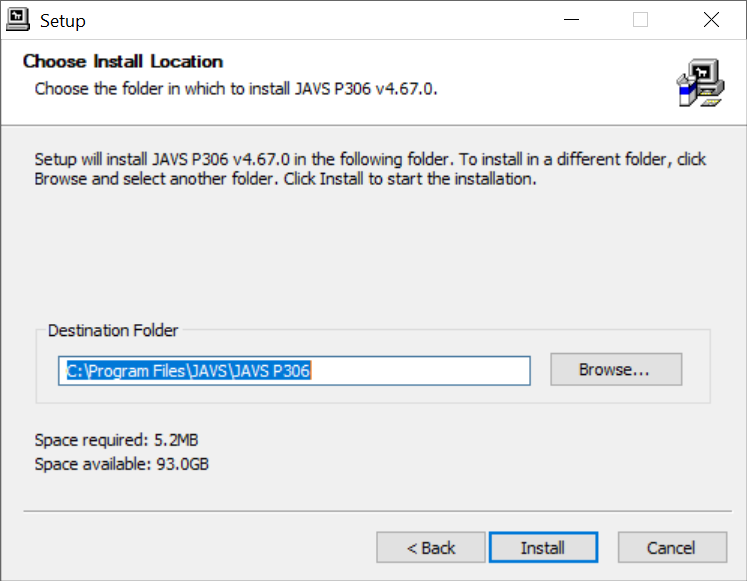
At the Choose Install Location screen, click Install.
-
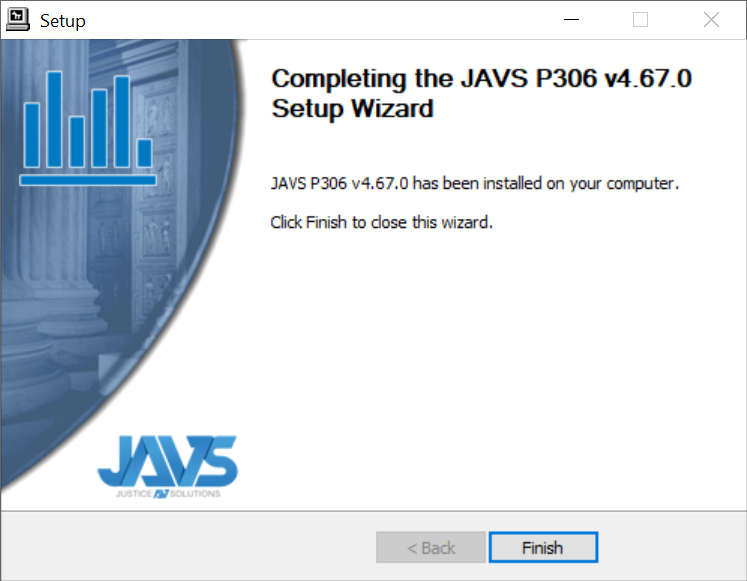
After setup has finished the installation, click Finish.
-
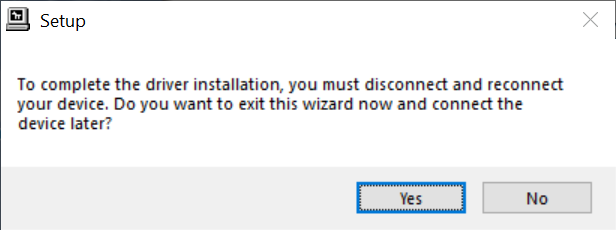
A dialog box will appear asking if you want to “…exit this wizard now and connect the device later?”, click Yes.
Installing the JAVS P306B Configuration Tool
Now double click on the P306B Configuration Tool 2.0.0 Setup file.
-
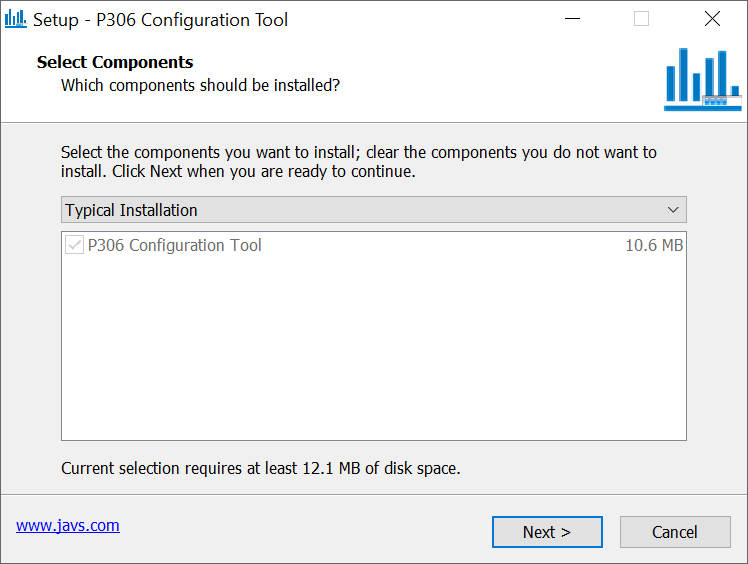
The Select Components screen displays. Click Next.
-
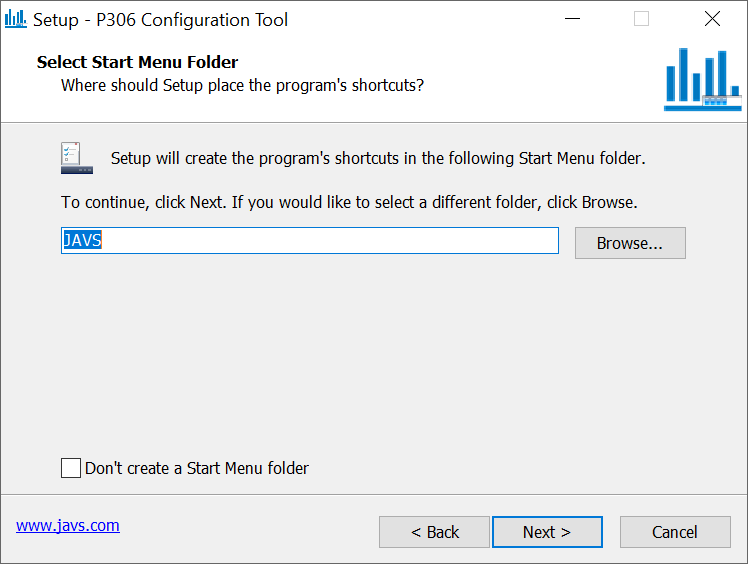
At the Select Start Menu Folder screen, click Next.
-
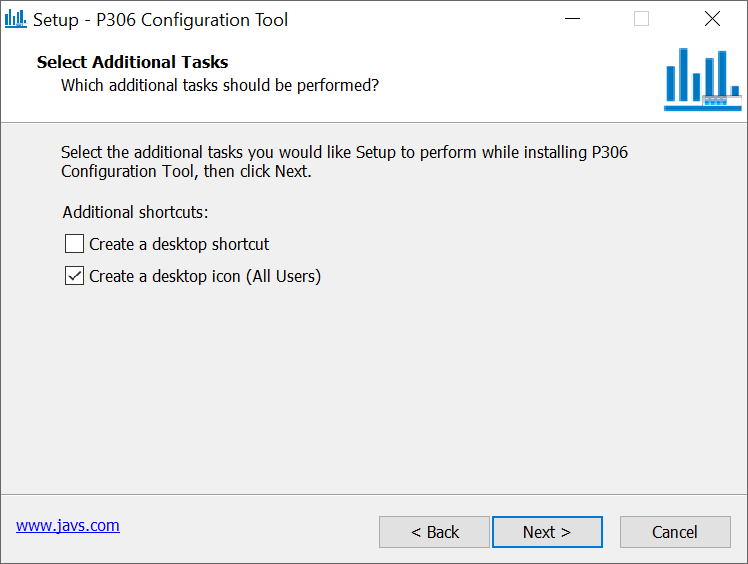
At the Select Additional Tasks screen, click Next.
-
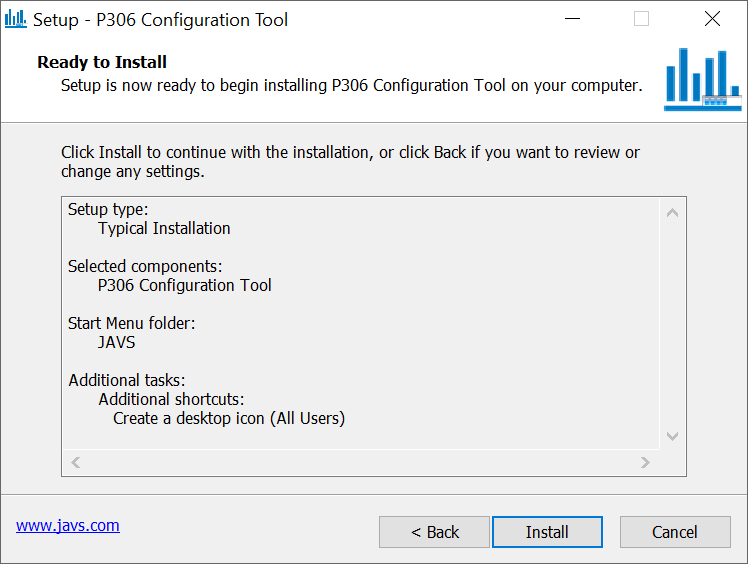
At the Ready to Install screen, click Install. The setup will begin installing the Configuration Tool onto your computer.
-
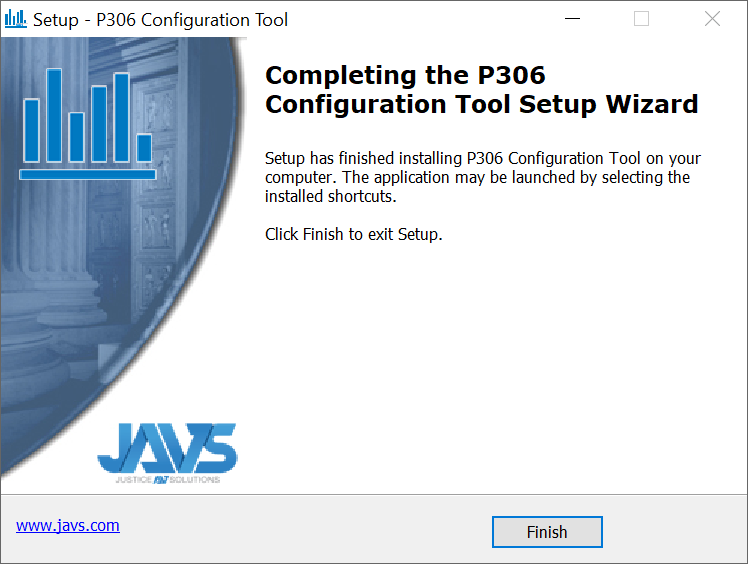
When the setup has finished installation, click Finish.
-
Connect the USB cable from the JAVS mixer to your computer. Windows will begin installing the drivers. When finished, Windows will display a message saying the device is installed and ready to use.
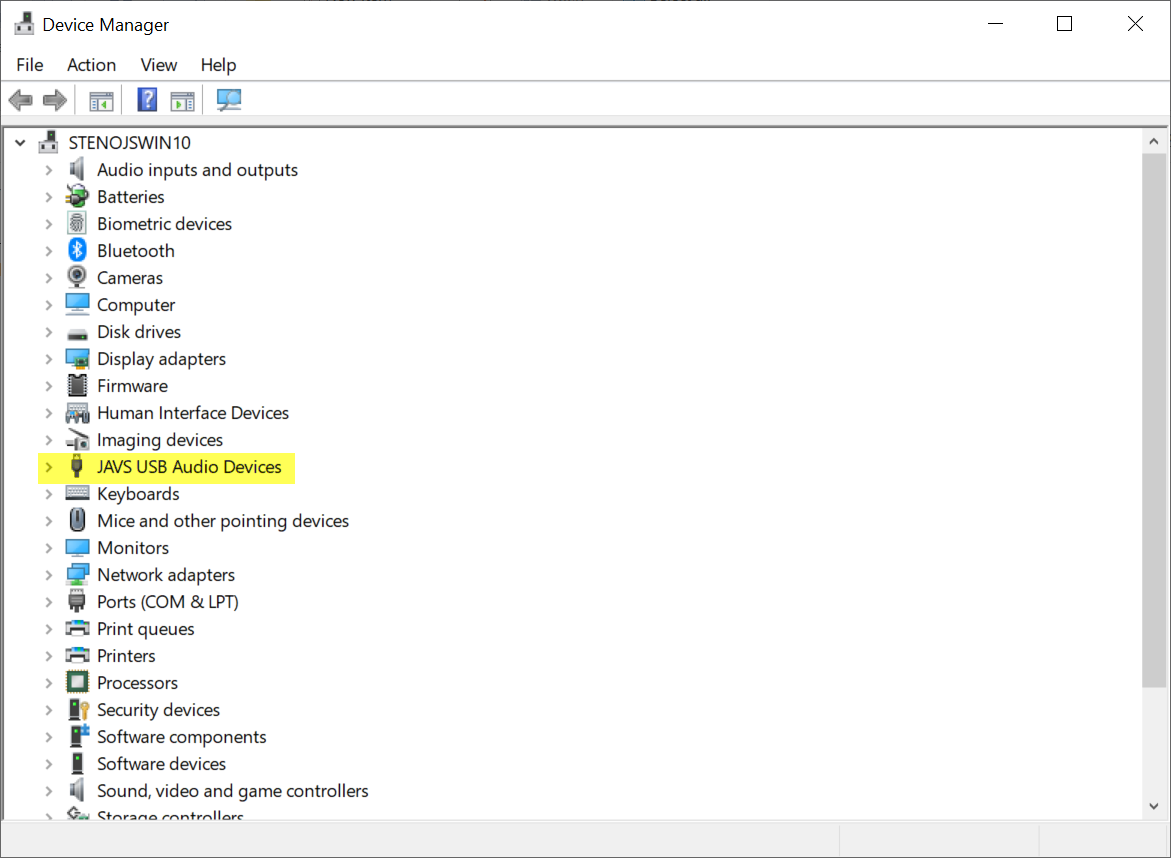
You can verify this by opening MAXScribe and clicking on Help, Open Device Manager (Alt-h, d). In Device Manager will be a new category called JAVS USB Audio Devices. If you see this, the drivers installed successfully.
