Test New Computer Setup Guide

Written by Justin Sieger
Updated at May 1st, 2026
Downloading CATalyst
Depending on your web browser there are different methods to download CATalyst. We will cover the two most common web browsers, Google Chrome and Microsoft Edge.
Sometimes we are asked where to download the Student version of CATalyst or the Edit version. Your access to what features are available in CATalyst are determined by your Product Key Code (PKC). Each version of CATalyst is compatible with your Product Key Code (PKC). It is your PKC (Full, Edit, and Student) that determine what features are available in CATalyst.
NOTE: The difference between with IVT and without IVT is with IVT includes the Integrated Video Training videos that show basic features of CATalyst for new users as well as some other commonly used features. Downloading CATalyst with IVT is a larger download so there will be an increased download time.
Which web browser are you currently using?
Click the following link to access the Stenograph Downloads page. If the download doesn't start, right-click on the link and chose Save Link As.
Now click on the version of CATalyst that you would like to download.
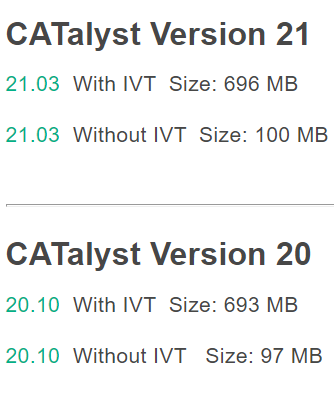
NOTE: If you do not know which version to download, open CATalyst on another computer and go to Help, About Case CATalyst (Alt-h, a).
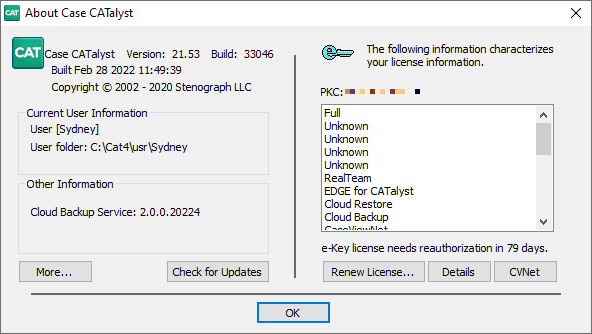
On the top, left side, you will see Version: xx.xx Build: xxxxx. This is the version of CATalyst currently installed on your computer. Chose that version to download onto your new computer.
A Save As dialog box will appear. Click Save to being downloading CATalyst.
Chrome will begin the download and display an Insecure download blocked message. Click Keep to continue the download.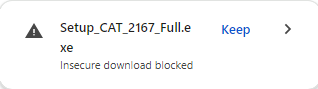
Once the download is finished, click Setup to begin the installation.
Note: You may get a message asking if you want to allow the setup to make changes to your computer. Click Yes.
Click the following link to access the Stenograph Downloads page. If the download doesn't start, right-click on the link and chose Save Link As.
Now click on the version of CATalyst that you would like to download.
NOTE: If you do not know which version to download, open CATalyst on another computer and go to Help, About Case CATalyst (Alt-h, a).
On the top, left side, you will see Version: xx.xx Build: xxxxx. This is the version of CATalyst currently installed on your computer. Chose that version to download onto your new computer.
A box will appear at the upper right corner of your screen showing the download progress.
You may receive a security warning from Microsoft Edge saying the setup can’t be downloaded securely.

Click the three dots next to the error and click Keep.
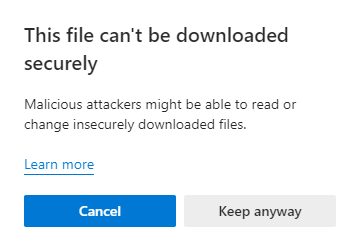
Another security warning will appear saying the “file can’t be downloaded securely”. Click Keep Anyway.
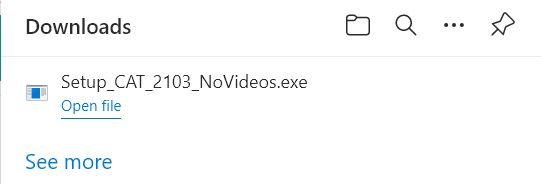
Edge will then begin downloading the setup. When the setup has finished downloading, click on Open File to begin the installation.
Note: You may get a message asking if you want to allow the setup to make changes to your computer. Click Yes.
Click the following link to access the Stenograph Downloads page. If the download doesn't start, right-click on the link and chose Save Link As.
Now click on the version of CATalyst that you would like to download.
NOTE: If you do not know which version to download, open CATalyst on another computer and go to Help, About Case CATalyst (Alt-h, a).
On the top, left side, you will see Version: xx.xx Build: xxxxx. This is the version of CATalyst currently installed on your computer. Chose that version to download onto your new computer.
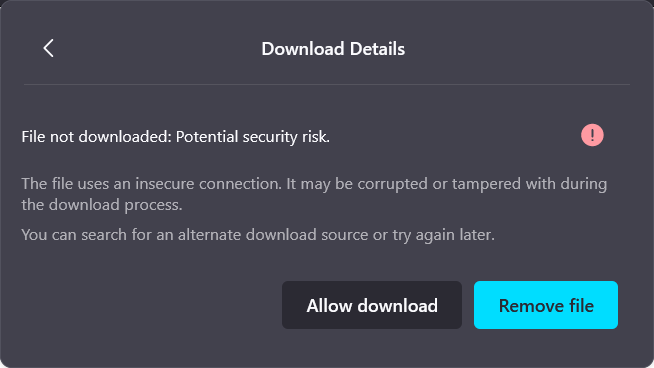
A message may appear in the upper right corner saying File not downloaded: Potential security risk.
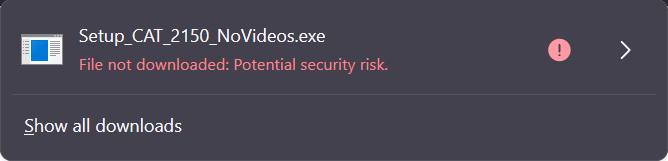
Click the arrow on the right side and select Allow Download to download the file.
Click on Tools, Downloads (Ctrl-j) to open the Downloads box.
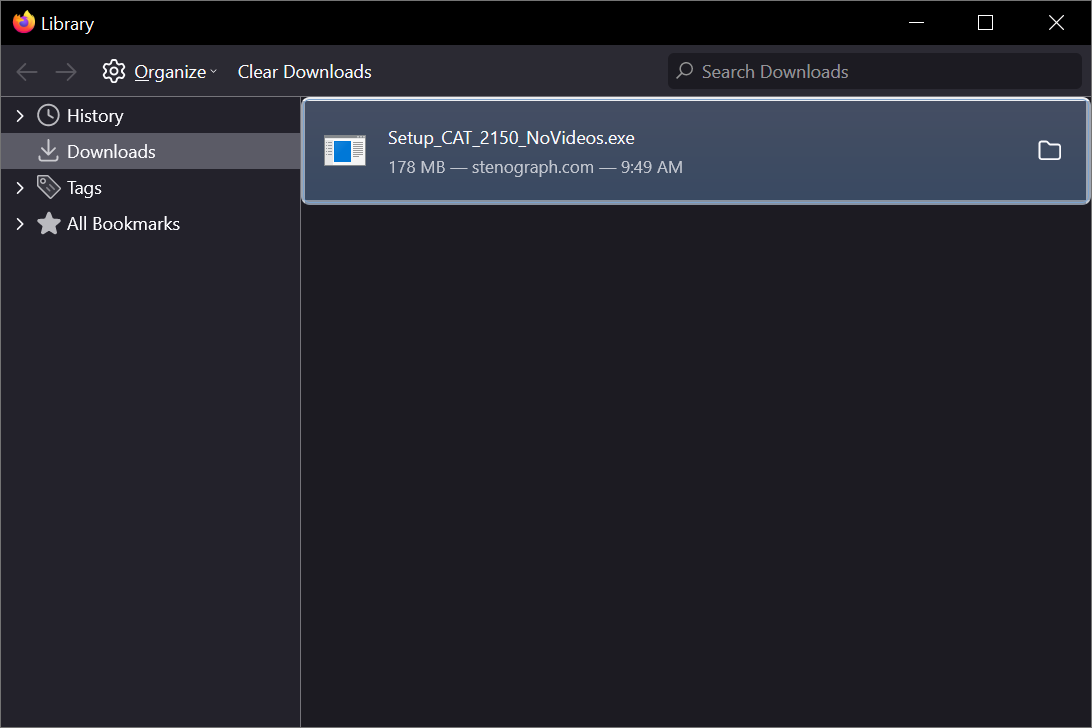
Once the download is finished, in the Downloads box, double click on Setup to begin the installation.
Note: You may get a message asking if you want to allow the setup to make changes to your computer. Click Yes.
Installing CATalyst
Navigate to where you downloaded the "Setup_CAT.." file (usually the Downloads folder or Desktop) and double click on it.
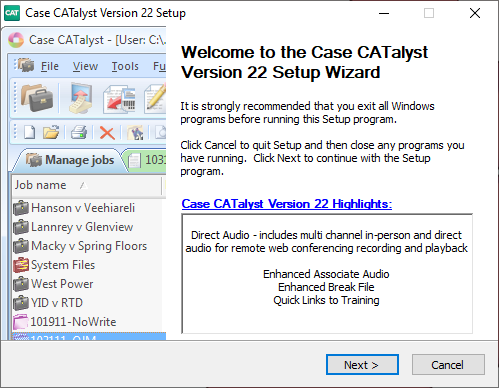
The Welcome to the Case CATalyst Version X Setup Wizard appears. Click Next.
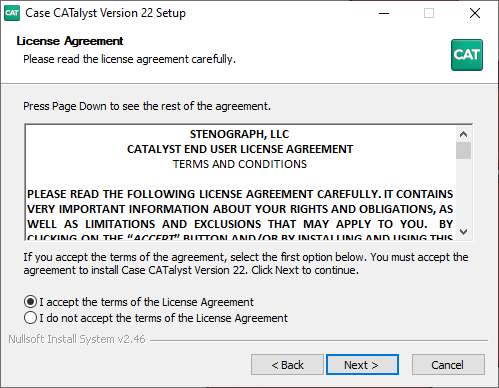
At the License Agreement screen, choose I accept the terms of the License Agreement and click Next.
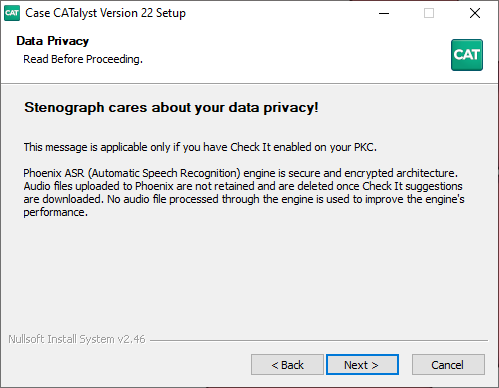
At the Data Privacy screen, click Next.
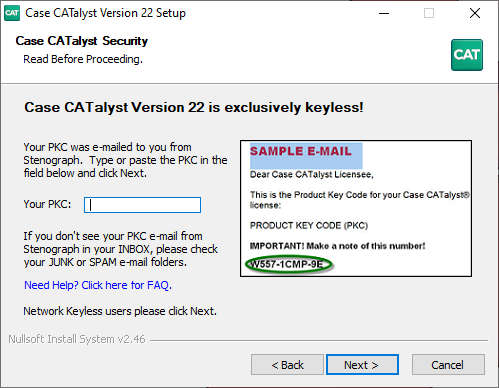
At the Case CATalyst Security screen, type in your Product Key Code (PKC) and click Next. If you do not have your PKC, click Next and you will be asked for your PKC the first time you open CATalyst.
TIP: If you're installing CATalyst on a new computer, you can get your PKC by opening CATalyst on your old computer and going to Help, About Case CATalyst (Alt-h, a). In the About Case CATalyst dialog box, on the right side, is your PKC.
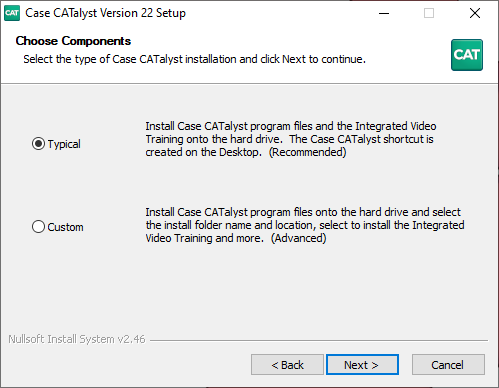
At the Choose Components screen choose Typical and click Next. If you are installing CATalyst to a different directory, such as a network drive, choose Custom.
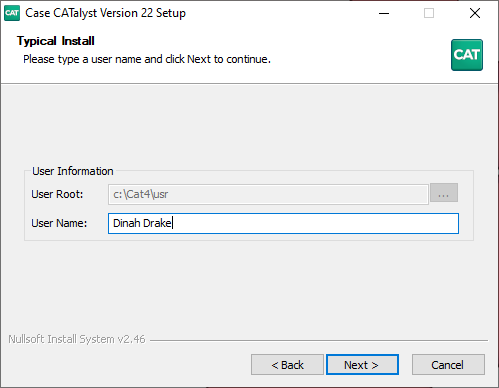
At the User Information screen type in a user name (usually your name) and click Next.
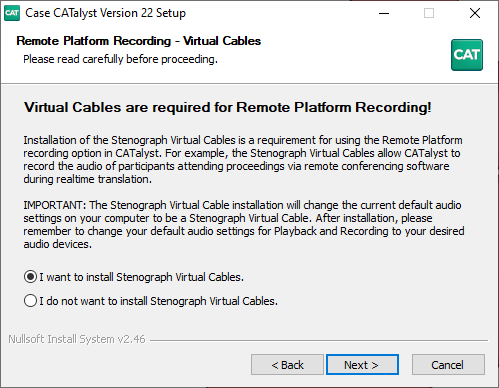
At the Remote Platform Recording - Virtual Cables screen, select I want to install Stenograph Virtual Cables and click Next.
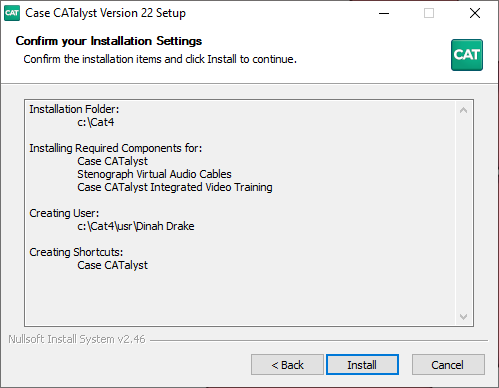
Confirm the installation settings and click Install. Setup will now begin installing CATalyst on your computer.
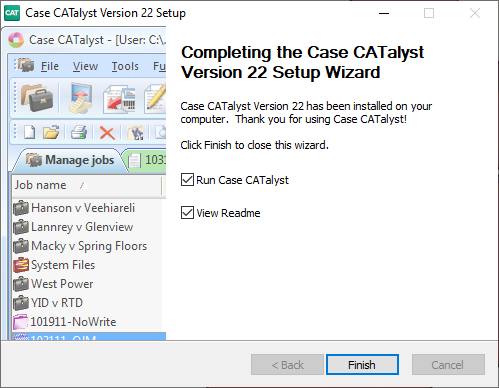
Once setup has finishing installing CATalyst click Finish.
Installing Stenograph Writer Drivers
Do not have your writer connected to your computer until the drivers are installed
Open CATalyst and in the Menu Bar click Help, Open User in Windows Explorer (Alt-h, w).

The File Explorer window will appear. At the top of the window you will see an Address Bar with a path that says This PC > Windows C: > CAT4 > usr > username. Click on CAT4 to go to the CAT4 folder.

Scroll to the bottom and double click on StenographDriverInstall. The Stenograph Writer Drivers Setup dialog box displays.

The drivers will install automatically. Once the drivers are installed the Stenograph Writer Drivers Setup Complete dialog box displays. Click Finish to close the wizard.

Turn your Stenograph writer on and plug the USB cable into your computer’s USB port and into the writer’s USB port. You may see a small notification display information about installing the driver. Once the driver is installed, open CATalyst and start a realtime job.
Windows 11 Power Options
Left click on Start then Settings. You can also type "Settings" in the Search bar. The Settings window displays.

On the left hand side, click on System. Then on the right hand side click on Power & battery.

Click on Power Mode and change the mode for Plugged in and On battery to Best Performance.

Click Screen, sleep, & hibernate timeouts. Change each option for Plugged in and On Battery to Never.

Click Lid, power & sleep button controls. Change each option for Plugged in and On Battery to Never.

USB Power Options
Open CATalyst and click Help, Open Device Manager. The Device Manager dialog box will appear.

Click the arrow next to Universal Serial Bus Controllers. The category will expand showing multiple USB devices.

Find a device that says USB Root Hub. You may have multiple instances of USB Root Hub as well as instances of USB Root Hub (USB 3.0) and USB Root Hub (USB 2.0). Double click on the first instance.

The USB Root Hub Properties dialog box displays. Click the Power Management tab. Then uncheck the box next to Allow the computer to turn of this device to save power. Then click OK.

Repeat Step 4 for each USB Root Hub, including the USB Root Hub (USB 3.0) and USB Root Hub (USB 2.0) devices, in Device Manager. Once finished, you can close Device Manager.
Setting up Audio
Make sure your microphone is plugged in before adjusting the Sound Options.
Right-click on Start, then click on Search.

In the search bar, Control Panel and press Enter.

In the upper right corner, you should see View By:. Click the down arrow and select Large Icons.

Double click on Sound.
Click on the Recording tab.

If there is no green check next to your microphone, right-click on the the microphone and select, Set as Default Device. Then right-click your microphone again and select Set as Default Communication Device.
Double click on your microphone.
Click on the Listen tab. Uncheck the option Listen to this device. If this option is already unchecked, proceed to the next step.

Click the Levels tab.

Move the Microphone volume slider to 95.
If there is a Microphone Boost slider, move that slider to +20.0 dB. If during testing, the audio is too loud, adjust the Microphone Boost slider to +10.0 dB or 0.
Click the Enhancements tab. Check Disable all Sound Enhancements/effects. If you do not have this tab, proceed to the next step.

Click the Advanced tab. Uncheck Exclusive Mode.

If there are checkboxes for additional audio enhancements, uncheck them as well.
Click Apply, OK to close the Microphone Properties dialog box. Click OK to close the Sound Properties dialog box.
You can close the Control Panel window.
Backing Up Files in CATalyst
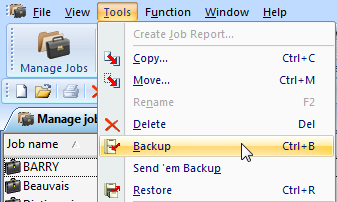
- From Manage Jobs click on Tools, Backup (Ctrl-b).
- The Backup dialog box displays. In this example we will be backing up our System Files to a USB flash drive.
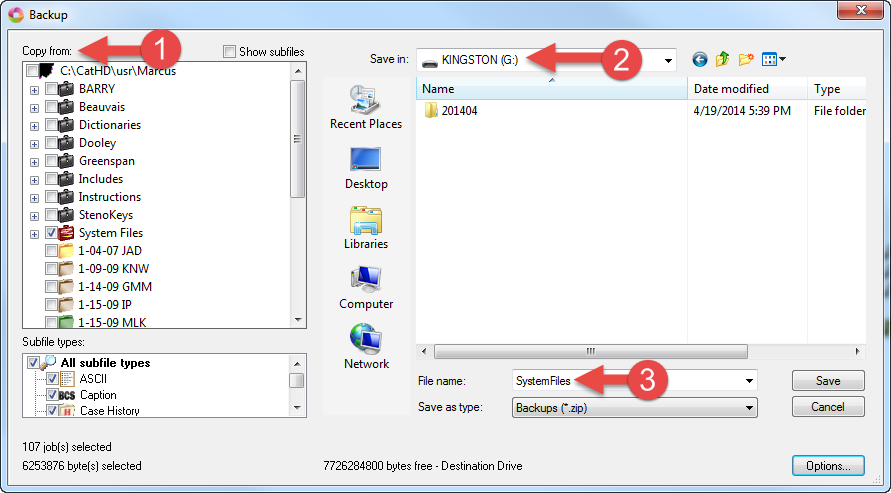
- On the left-hand side, in the Copy from: box, place a check next to the files and cases to back up.
- On the right-hand side, in the Save in: box, click the down arrow and select the USB flash drive.
- At the bottom of the dialog box is the File name: box. Type a name for the backup and click Save.
- On the left-hand side, in the Copy from: box, place a check next to the files and cases to back up.
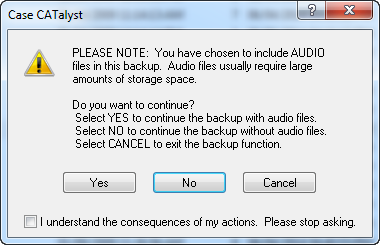
- If your backup file contains audio you may receive a dialog box letting you know that the backup contains audio. Choose Yes to continue backing up the file with audio, No to back up the file without audio, or Cancel to stop the backup and return to Manage Jobs.
Restoring Files into CATalyst
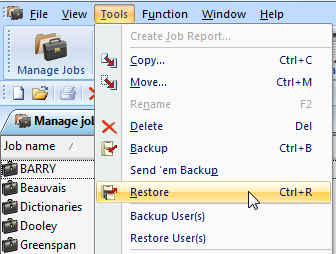
- From Manage Jobs, click on Tools, Restore (Ctrl-r).
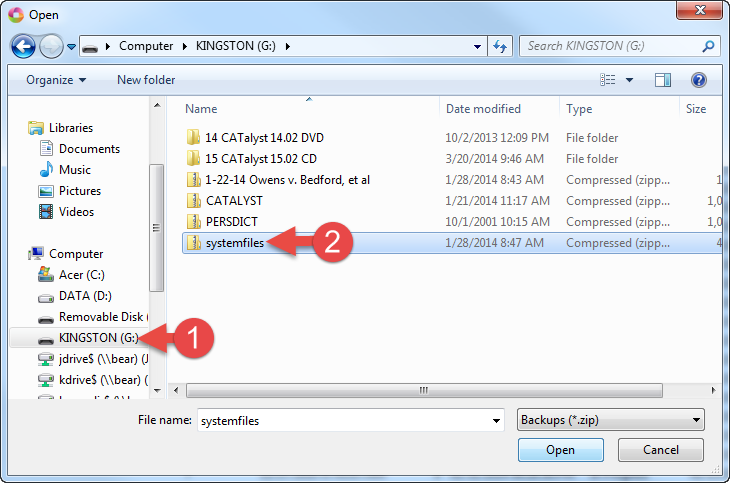
- The Open box appears. On the left side, left click the location where the backup is located. Then on the right side, choose the backup file and click Open.
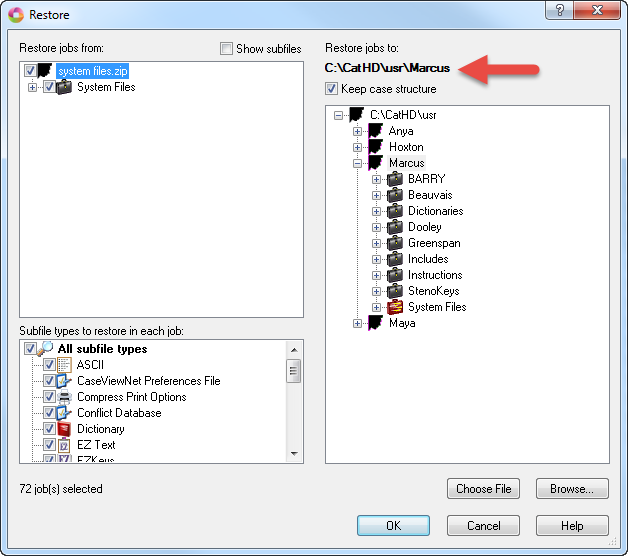
- Now the Restore box appears. Make sure in the upper right corner that "Restore Jobs To" says C:\Cat4\usr\(username) and the "Keep Case Structure" box is checked. Then left click on OK.
During the restore, a box may pop up saying Confirm File Replace. This means there is already a file with the same name in CATalyst as the one being restored.
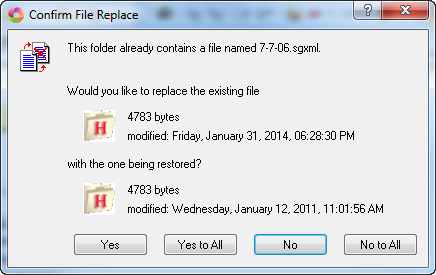
If you want to replace the file click Yes.
If you want to replace all the duplicate files click Yes To All.
To not replace the file click No.
To not replace any duplicate files, click No to All.
Starting Realtime
Make sure the USB cable is connected to your writer and computer and the writer is on. If you have not installed the USB Writer Drivers, you will need to install them before starting realtime.
- From Manage Jobs click the Translate icon in the Function Bar or press Ctrl+t.
- The Translate window will appear. In the lower left corner, click on Options.
- The Options window will open.
- Click on the Realtime tab at the top.
- On the left-hand side is the Realtime Writer field. Choose Stenograph Writer USB.
- Below the Realtime Writer field is the Audio section. Make sure the Record To: field is set to Current Folder.
- In the Codec: section, click the down arrow to select a codec.
- Also make sure the Audio Input drop down menu is set to Default. Once you’ve set your options, click Apply then OK.
- Click on the Realtime tab at the top.
- Now you’re back to the translate window.
- In the top left-hand side next to Steno Source, you need make sure it says Writer.
- Click the down arrow next to Layout File and select your layout.
- On the right hand side, you need to make sure both check boxes next to Record Audio are checked.
- Finally, in the bottom left, type a file name in the File Name: field and click OK.
- In the top left-hand side next to Steno Source, you need make sure it says Writer.
The Translate window will close and a new realtime file will open. You should see a dialog box appear that says Connected to Writer…Stroke a Key to Begin Writing. Write a few strokes on your writer and they will appear in the Case CATalyst transcript window.