CATalyst Dual Installation

Written by Justin Sieger
Updated at November 12th, 2025
Sometimes CATalyst users will have two different Product Key Codes (PKC) and would like to use both of them on the same computer. This could be a student with a Student PKC but also has an Edit PKC to do some editing on the side.
Users want to know if it's possible to use both PKC's on the same computer. Yes, you can use both PKC's on the same computer but it requires two separate installs of CATalyst. This article will show you how to do it.
Note: If you already have CATalyst installed, skip to Installing the Second Instance of CATalyst.
Installing the First Instance of CATalyst
-
Download CATalyst from the Stenograph website.
NOTE: You only need to download CATalyst once. You can use the same setup for both installations of CATalyst. The PKC is what determines what features are available in CATalyst.
Install CATalyst on your computer.
After CATalyst is installed, find the shortcut on your desktop. Right click (F2) on the shortcut and left click on Rename.
-
Rename the shortcut to what PKC you will use for this installation and press Enter. For example: CATalyst-Edit or CATalyst-Student. If you press Enter too early or click on something else, simply repeat step 3.

Double click the renamed shortcut.
CATalyst will open and display the e-Key Setup dialog box. Type in the PKC for this installation and click Automatic e-Key.
Once the PKC is activated, the Apex Create Account dialog will display. You can close this dialog.
Now you can close CATalyst.
Installing the Second Instance of CATalyst
-
Install CATalyst again until you get to the Choose Components screen. Here chose Custom and click Next.

-
At the Custom Install screen, change the Install Folder to something besides C:\CAT4. For example: if the installation is for the student PKC, use C:\CATStudent.
At the User Root, replace CAT4 with the name from the Install Folder. Using the previous example, the User Root would be C:\CATStudent\usr.
Make sure Case CATalyst is checked under Desktop Shortcuts, and click Next.

-
At the Virtual Cable Setup screen, if you have already installed the Stenograph Virtual Cables, you do not need to install them again. If you do not want to install the Stenograph Virtual Cables, click Next.

Finish the installation as normal.
After CATalyst is installed, find the shortcut on your desktop. Right click (F2) on the shortcut and left click on Rename.
-
Rename the shortcut to what PKC you will use for this installation and press Enter. For example: CATalyst-Edit or CATalyst-Student
Double click the renamed shortcut.
CATalyst will open and use your first PKC to activate this instance. This is OK and we will change to the second PKC soon. Click Finished on the Options Setup dialog.
The Apex Create Account dialog will display. You can close this dialog.
-
Click on Help, About Case CATalyst (Alt-h, a) to bring up the About Case CATalyst dialog box.
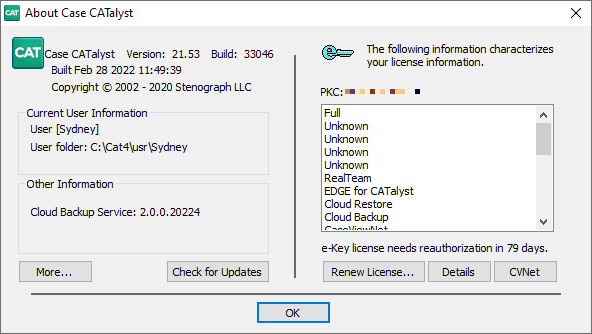
-
Click Renew License to bring up the e-Key Setup dialog box.
Type in the second PKC for this installation and click Automatic e-Key.
Once activated, click Finished in the Options Setup dialog. You can then close the e-Key Setup dialog.

Now you can close CATalyst.
You should have two shortcuts for CATalyst with different names. You can open each one and begin restoring files as necessary.