How to Configure the TP-Link AC750 Router

Written by Justin Sieger
Updated at July 3rd, 2023
- Open a preferred browser and in the address bar type http://tplinkwifi.net.
- If the link does not work, you can clear the cache and history of your browser and try again.
- If the link still does not work, use the router's IP address http://192.168.0.1 or http://192.168.1.1 to login instead of http://tplinkwifi.net.
- Lastly, there is an option to download TP-Link Tether APP from Google Play and Apple Store.
- If the link does not work, you can clear the cache and history of your browser and try again.
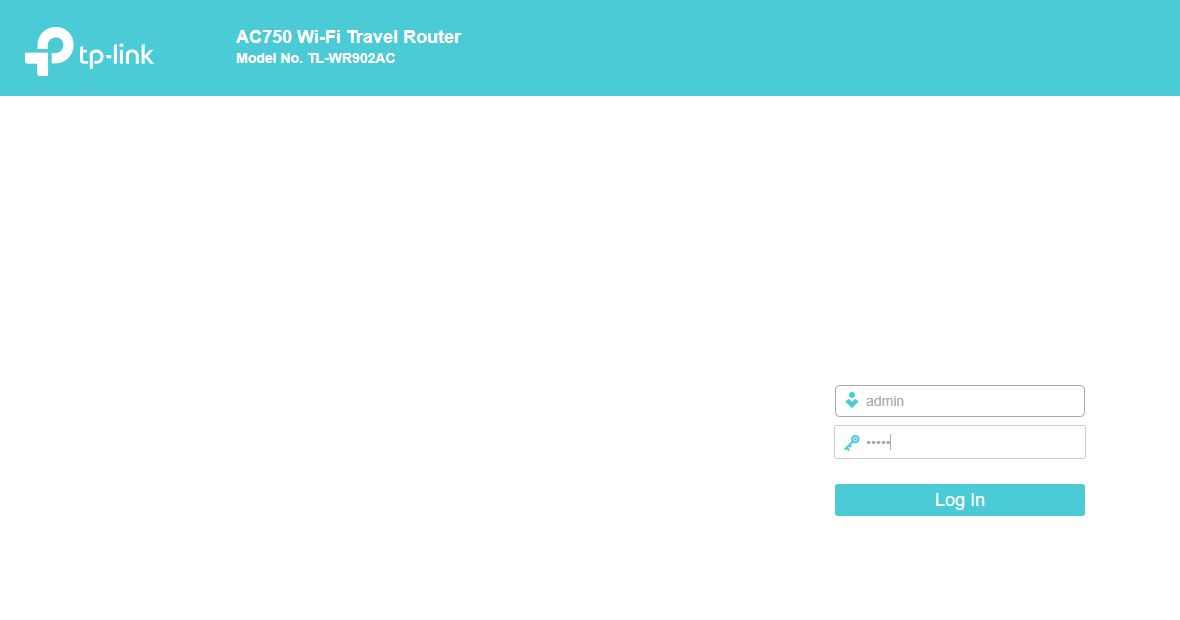
- At the login screen, type admin for both the Username and Password.
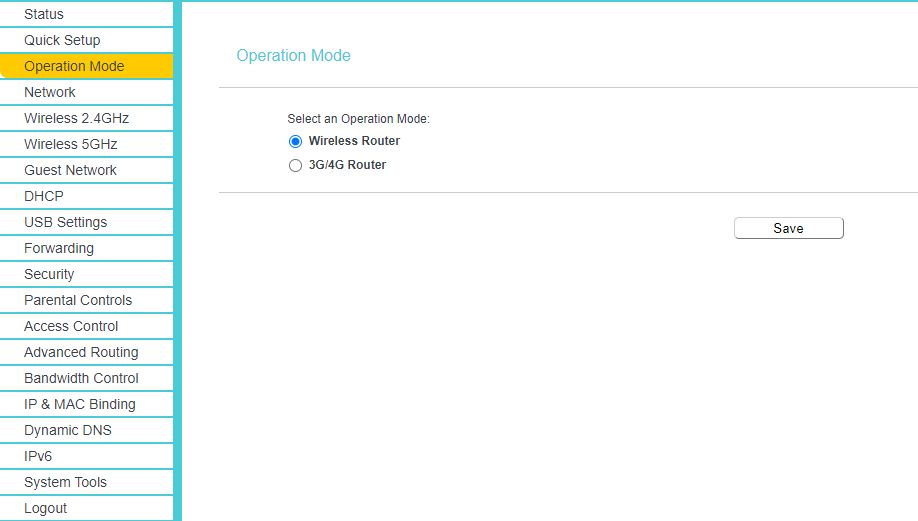
- Click Operation Mode on the left side. On the right side, verify the Operation Mode is set to Wireless Router.
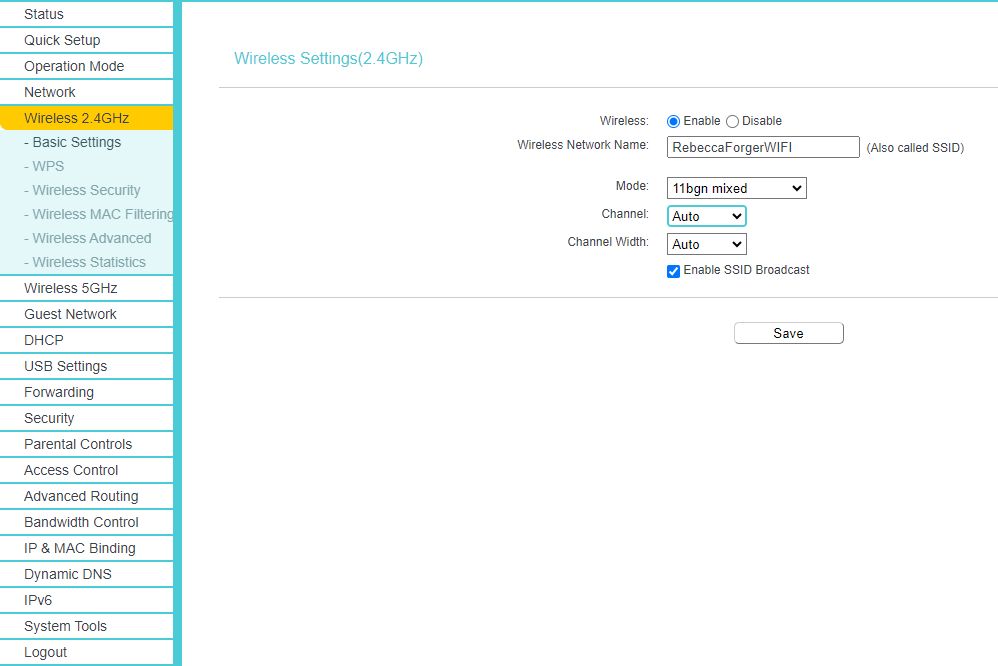
- Now click Wireless 2.5GHz on the left side. On the right side, click Enable next to Wireless. Then next to Wireless Network Name, type in a unique name for your network. You could use your first initial and last name, for example, ALangleyCVNet.
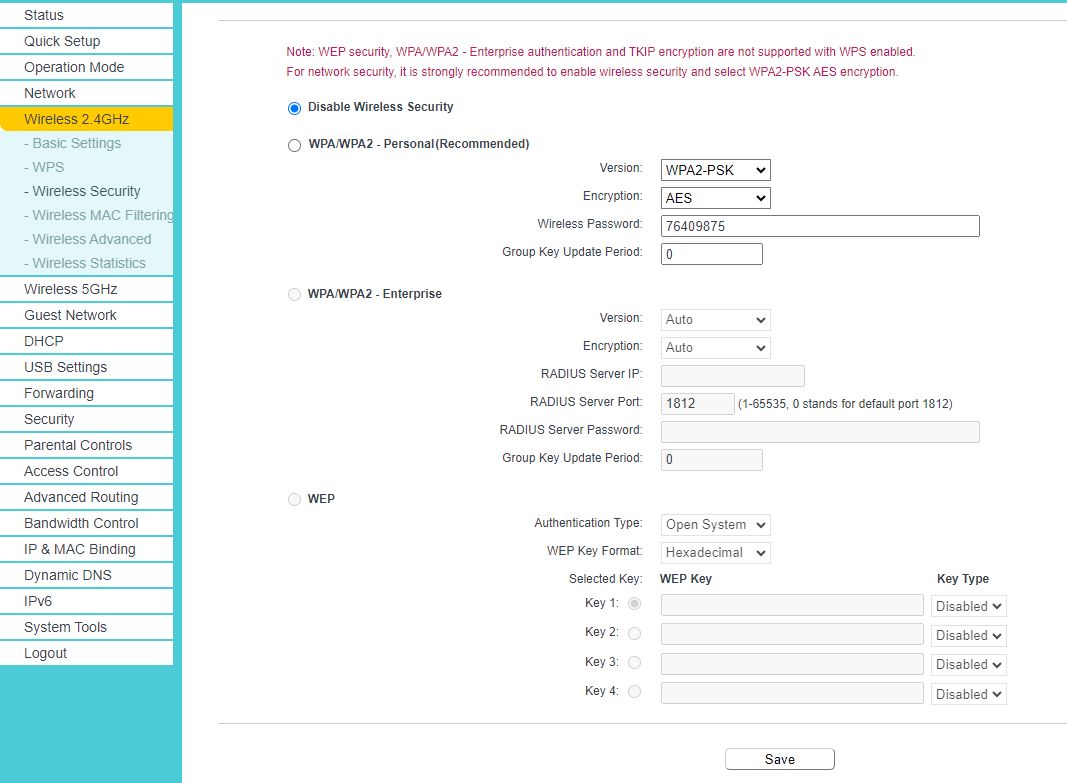
- Now click Wireless Security under the Wireless 2.5GHz menu. Make sure Disable Wireless Security is selected. Disabling the Wireless Security allows the writer to connect to the network without having to fingerspell or define a password. It also allows your clients, an easy way to connect to your network.
- Click Save and then close the browser window.
Additional Information: There is a switch on the side of the router. This switch should remain in the top position, called Share ETH. This setting is designed to share the network with more wireless devices.