Restoring Files from Cloud Backup
Once your files are backed up to the cloud, there may come a time when you need to download a file or case. For example, let's say you are an official reporter and a transcript has been ordered for a proceeding that you reported months ago. In the Cloud Backup Status dialog box, you simply select Restore Files and select the file/files you want to download to your hard drive. Restoring or downloading files from the cloud does not remove them from the cloud, it simply makes a copy of the file on your hard drive.
You might also restore a file from the Cloud to work on it on a different computer. For example, you were writing realtime, when finished, you used the Cloud Back Up Now command to make sure the file was sent to the Cloud. You get home and want to edit the realtime file on your home computer so you restore the file from Cloud Backup to your home computer.
When restoring a file from the cloud, if a version of the file already exists on your hard drive, you can have Cloud Backup overwrite the existing file on your hard drive, rename the existing file on your hard drive or restore the file to a different location.
To restore files from Cloud Backup, do the following:
To open the Cloud Backup Status dialog box, click the Cloud Backup icon
 or click Functions, Cloud Backup (Alt + u, k). When using a metered network connection, a message displays prompting you to continue or not with the restore.
-
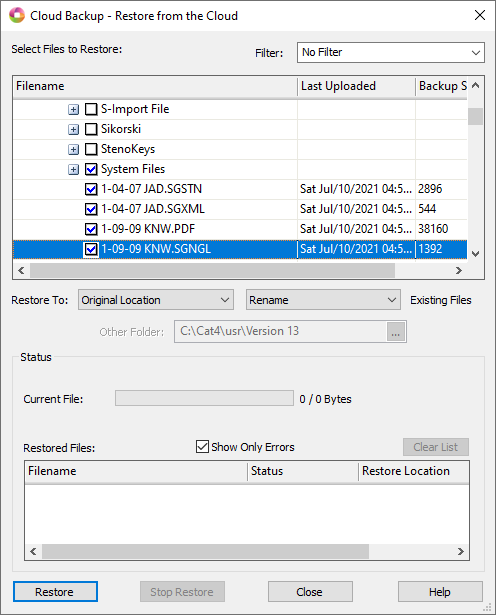
Click the Restore Files button. The Cloud Backup - Restore from the Cloud dialog opens. After a few moments the dialog displays the current computer name and the files in an expanded tree view based on the current user. If you have backed up from more than one computer, each computer name will display. To expand the view, click the plus sign next to the computer name and then continue to click the plus sign in front of each item to expand the view as needed to locate what you want to restore. The filename displays, the date the file was last backed up (uploaded) to the cloud and the size of the file.
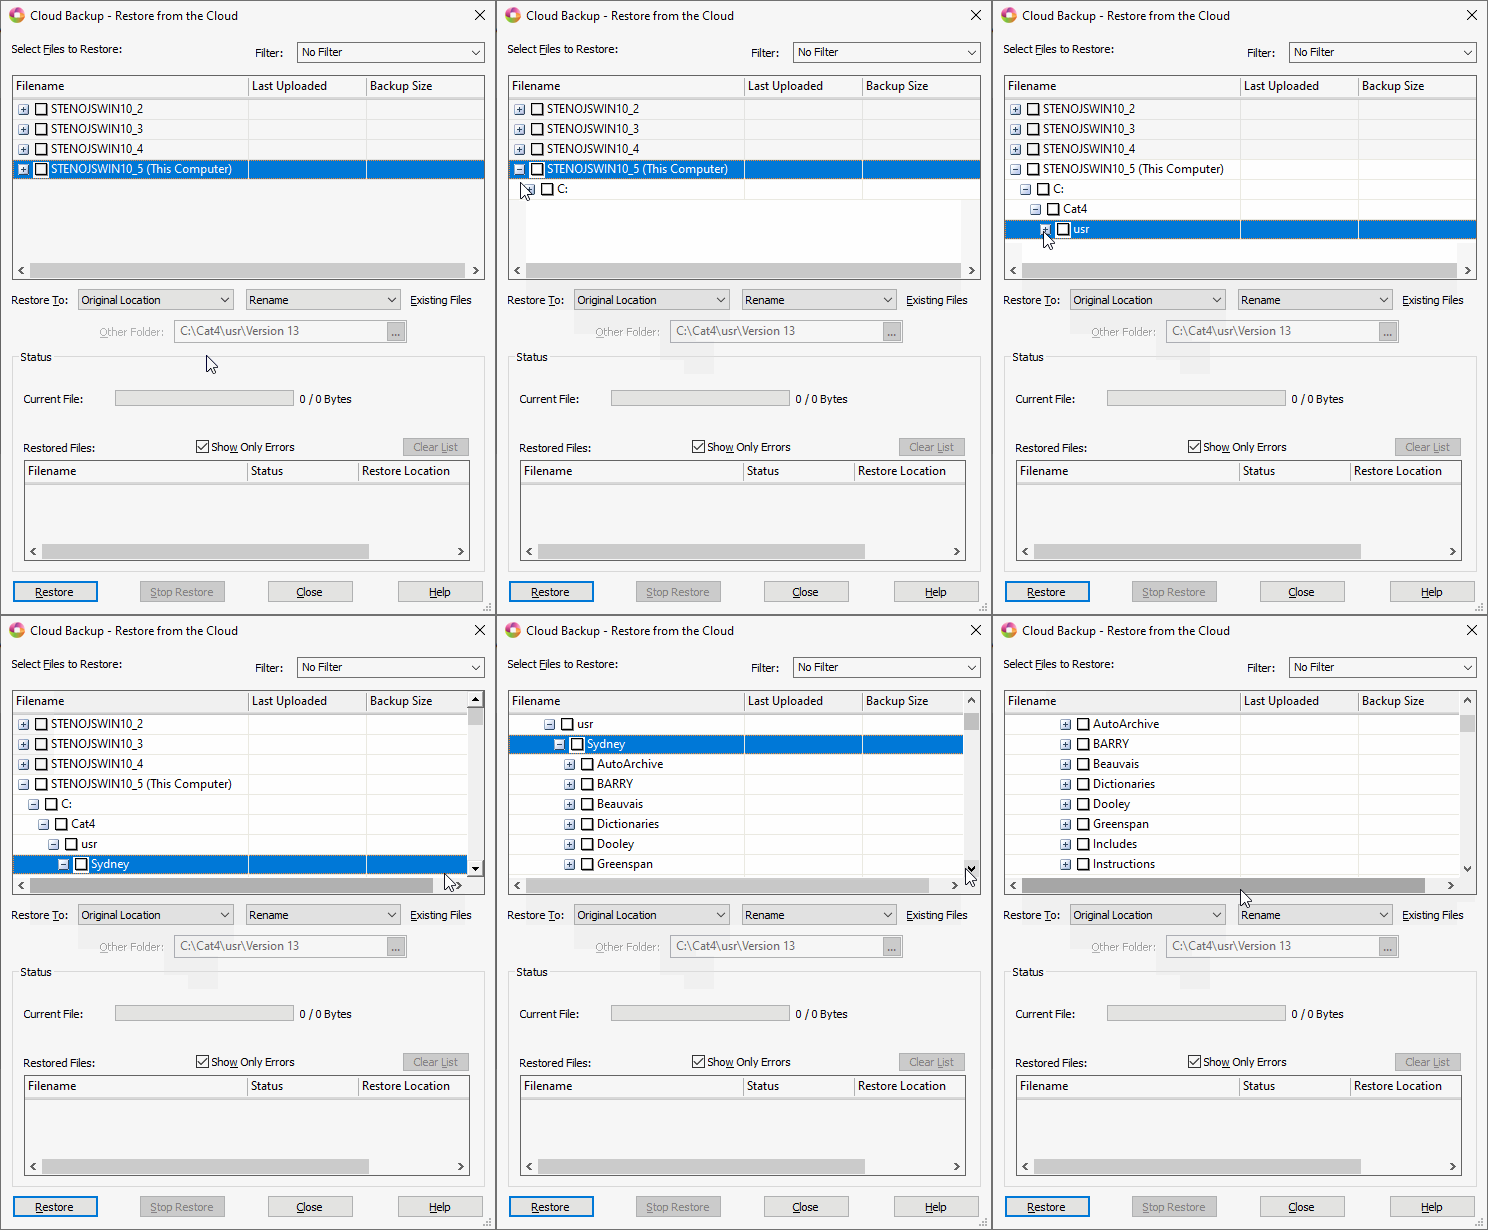
The computer name is based on the computer name in Windows unless you have changed the name using the Computer Name... feature in Cloud Backup Settings dialog box.
-
To filter the display to only show a specific file type or file types for files you want to restore from the Cloud, click the down arrow in the Filter field to display the list of file types.
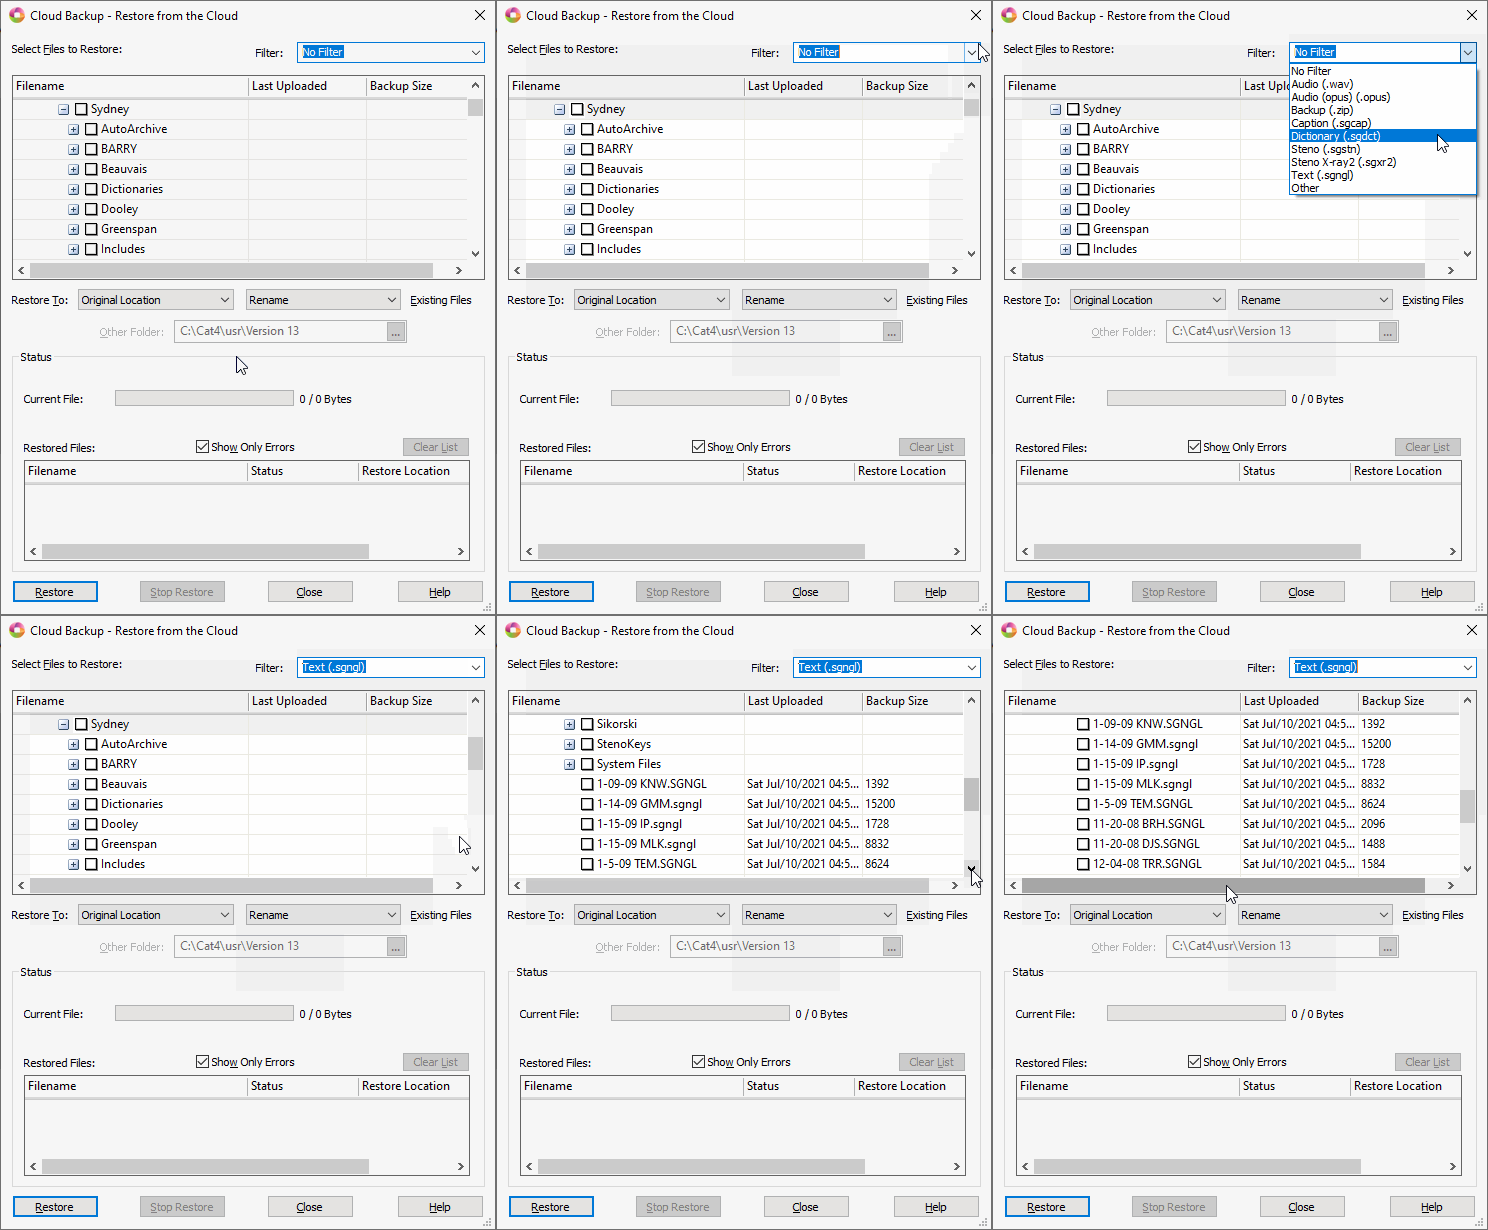
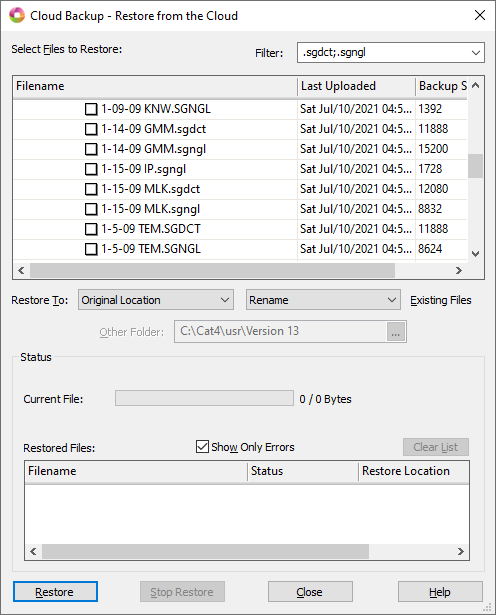
To filter for a file type not listed or filter for multiple file types, select Other and type in the Filter field to filter for a different file type or to add multiple file types. Start each file type with a period followed by the extension and then type a semi-colon (;) and type the next file type extension. In the following screen shot, Cloud Backup Restore is being filtered for dictionary and text files.
-
Click the box next to individual files and/or cases to restore. If you select a case, all matching files types in the case will be selected unless the subfile is excluded in the Exclude Extensions... list.
-
In the Restore To: field, click the down arrow to display the location options. The default setting is Original Location.
Original Location - restores the file/files to the same location from which they were backed up.
Desktop - restores the selected file/files to your computer's Desktop.
Other - allows you to navigate to a location on your computer and restores the file/files to that location.
-
In the Existing Files field, click the down arrow to display the action options if a file/case with the same name exists in the selected restore location.
-
Rename- will add a number to the end of the existing file name of the same file on your computer's hard drive.
For example: If you are restoring Jones04072016 from the Cloud and Jones04072016 exists on your computer's hard drive, once restore is complete you will have Jones04072016 (restored file) and Jones04072016_1 (existing file on your hard drive). Rename is the default action.
Overwrite - the existing file on your hard drive will be overwritten by the restored file from the Cloud. Using the previous example, when restore is complete, you will have one Jones04072016 file on your hard drive.
Note: If you just installed Case CATalyst and created the same CATalyst user name as you have on another computer, you most likely want to select Overwrite in this situation so you don't have your restored files and the CATalyst default files followed by a 1.
-
-
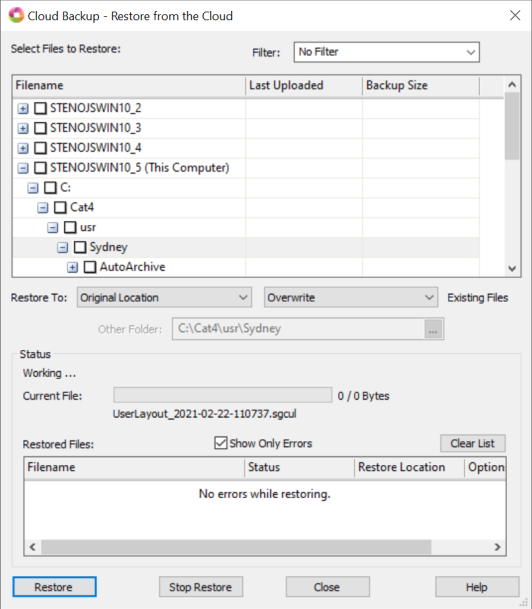
In the Restored Files section, there is a Show Only Errors option which is selected by default. When this option is selected, only file names that experience an issue during restore will be listed. If no errors are encountered while restoring, the No errors while restoring message displays when the restore is complete.
If you want to see the filenames, restore status and restore location of the files restored, deselect the Show Only Errors option. Once the files have been restored, you can click the Clear List (Alt-L) button to clear the list.
-
To begin the restoring of the selected files, click the Restore (Alt + r) button. The Current File: field displays the progress of the restored files and the Restored Files section displays information based on your selections.
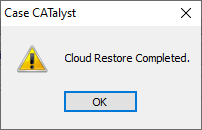
Once the selected files have been restored, the Cloud Restore completed dialog box displays, click OK to close the dialog box.
When you are finished restoring files to your computer, click Close (Alt + c) to close the Restore dialog box.
Things to know:
-
If you click the Close button while restore is still in progress, the Files are being restored! message displays.
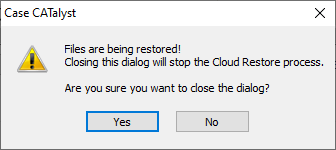
Click Yes to stop the restore process.
Click No to have the restore process continue.
-
If you want to stop the restore process, click Stop Restore. The Restore Canceled by User message displays.
