Connect to Realtime Through a Local Connection

Written by Justin Sieger
Updated at March 17th, 2022
The following guides are for clients to connect to the reporter using a local network connection and not using a Session Code. Typically this is done if all of the clients are in the same room as the reporter. If you are using a Session Code, please refer to our Session Code Guide.
Make sure the reporter has already started a realtime session before attempting to connect.
iCVNet App
If you need to download the iCVNet app, open the App Store on your iPad and search for "iCVNet" or "Stenograph". Tap Get to install the app.
-
Open the ICVNet app, then tap the Connect button in the upper left corner.

-
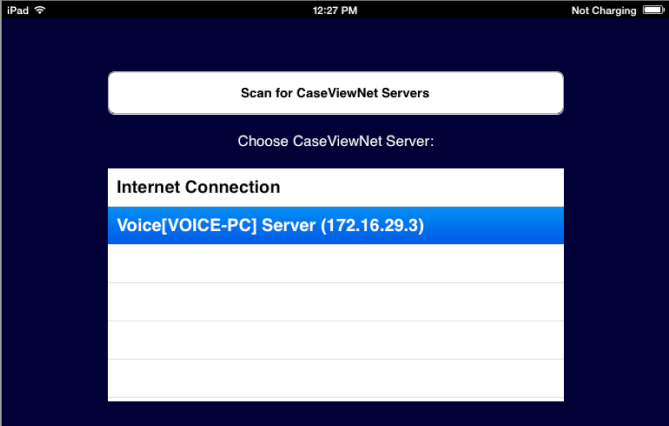
In the Connection List, you will see the reporter's server. Tap the server and then tap Connect.
-
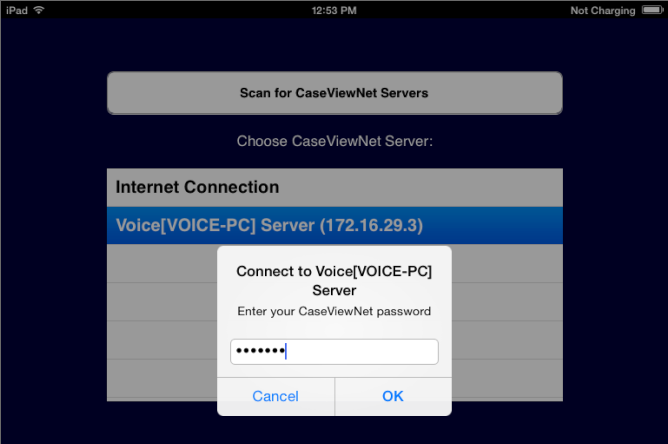
In the dialog box, type CaseView password and tap OK. For information about iCVNet's features, check out our Quick Reference Guide.
Windows App
If you need to download the Windows version of CVNet, you can download it here.
-
Open CaseViewNet and in the Menu Bar, click Realtime, Connect (Alt-r, c).

-
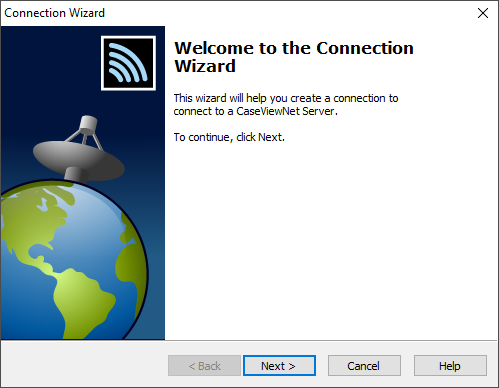
The Connection Wizard displays. Click Next.
If the Connection Wizard does not display try the following steps.
-
In CaseViewNet, select Options, System Options. The System Options dialog box displays.
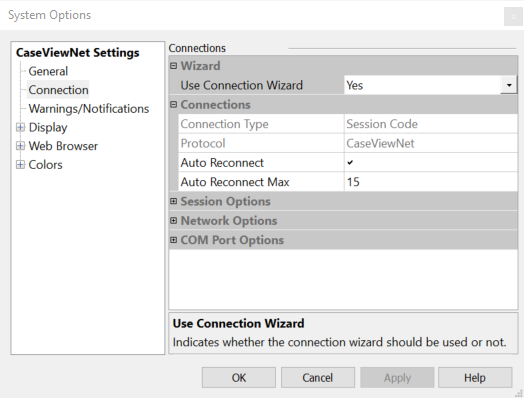
In the System Options dialog box under the CaseViewNet Settings section, click Connection.
In the Use Connection Wizard field, select Yes.
Click OK to save the settings then click the Connect button again.
-
-
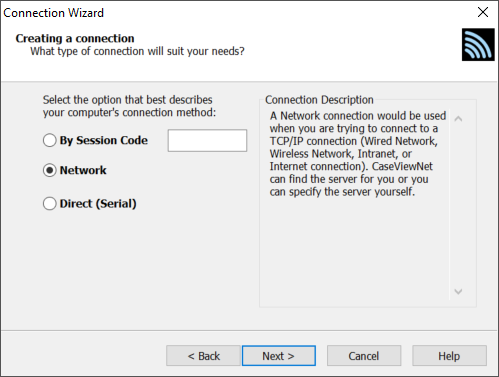
In the Creating a connection screen, click the radio button next to Network and click Next.
-
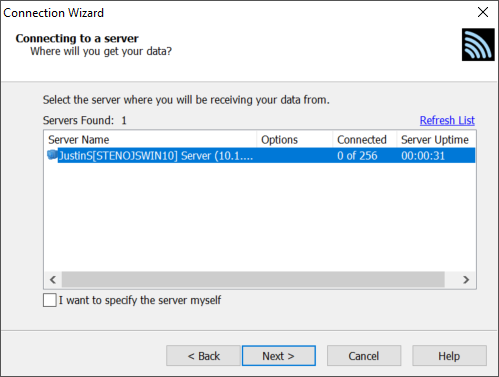
Click Next again, to get to the Connecting to a server screen. Click on the reporter's server and click Next.
-
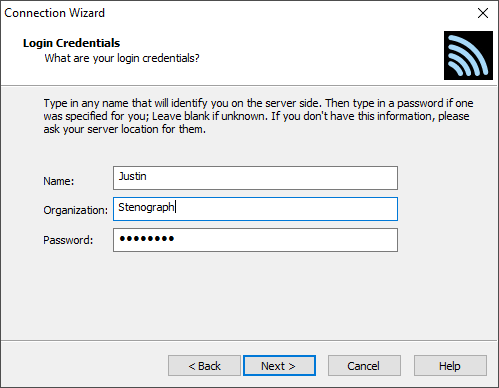
At the Login Credentials screen, type in your Name, Organization, and Caseview password then click Next. The reporter will provide you with the Caseview password.
-
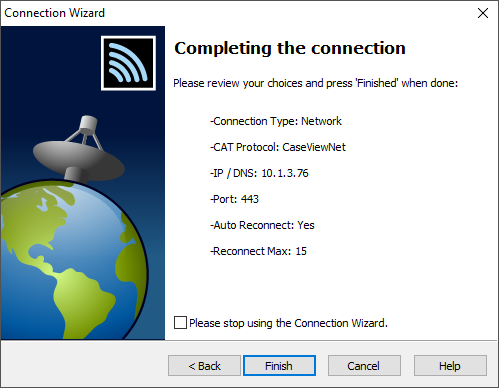
At the Completing the connection screen, click Finish to connect to the CaseView session. For information about CaseViewNet Windows app features, check out our Quick Reference Guide.